This page explains how to set up and manage video walls in EasySignage, including linking multiple screens, configuring layouts, and assigning content to display seamlessly across all panels.
- Network Recommendation: connect your screens to the same wired network, wifi might not perform as expected.
A Video Wall provides a simple solution to build a video wall using digital signage screens.
How to Create a Digital Signage Video Wall
There are 5 main steps to creating a video wall.
Step 1: Create a Video Wall Playlist
- Open the management console
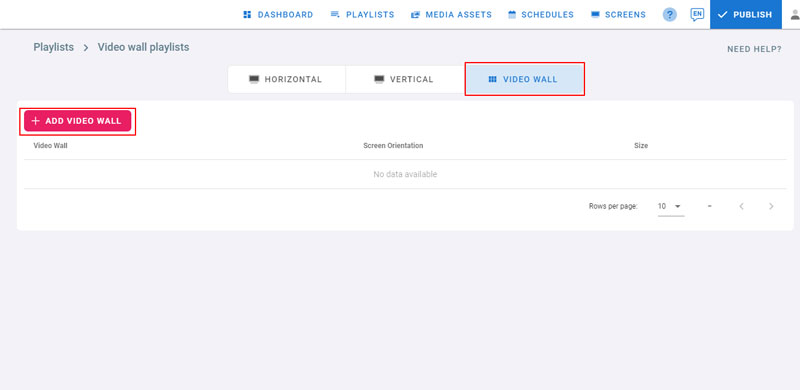
- Go to the Playlists page
- Click on Video Wall Tab
- Click on Add Video Wall

- Type in the video wall playlist name
- Choose the video wall screens orientation
- Choose the Team that has restricted access to this playlist
- Choose the size of the video wall: a 2x1 video wall means that there are 2 screens horizontally by 1 row. The playlist we are creating can be used with this size of video walls only
- Click on Add
- The Apps dialogue will open,
- Only images, videos and PDF files can be added to a video wall playlist
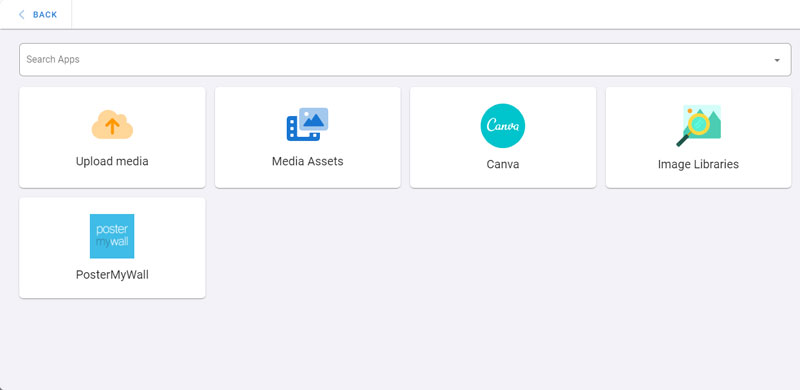
- Click on Upload Media, or on other apps if you want to get your content from other sources
- Click on My Device
- Choose the images and videos to upload. Make sure your content is designed to fit the video wall size you create
- Wait for the media to be processed and divided into the video wall zones
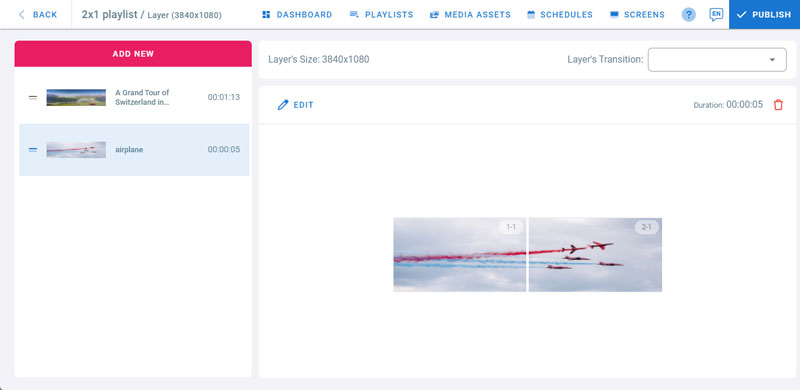
- The image we see is divided into zones 1-1 which will play on screen 1 and 2-1 which will play on screen 2
Step 2: Add Screens
- Install the player app on your screens
- Add the screens to the management console using the Hash ID. For more info check Screens
- For a 2x1 video wall, 2 screens are needed
Step 3: Create a Video Wall
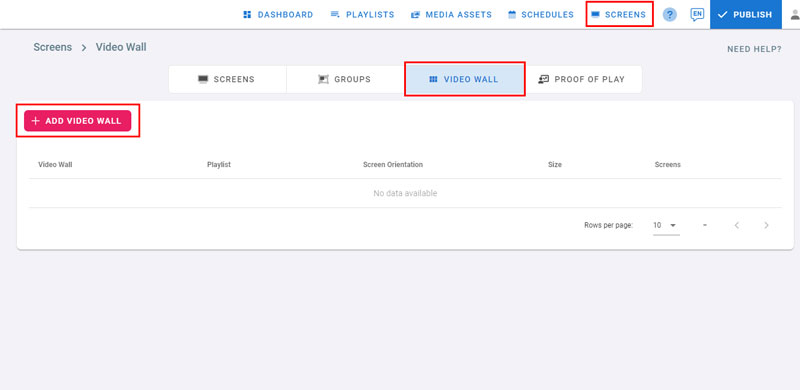
- Go to Screens Page
- Click on the Video Wall tab
- Click on Add Video Wall

- Type in the video wall name
- Choose the orientation
- Choose the Teams that have restricted access to this videowall
- Choose the video wall size, for our example we will choose 2x1, which we already created a 2x1 video wall playlist and uploaded the content
- Click on Add
Step 4: Assign Screens
After the video wall creation, the below page will open
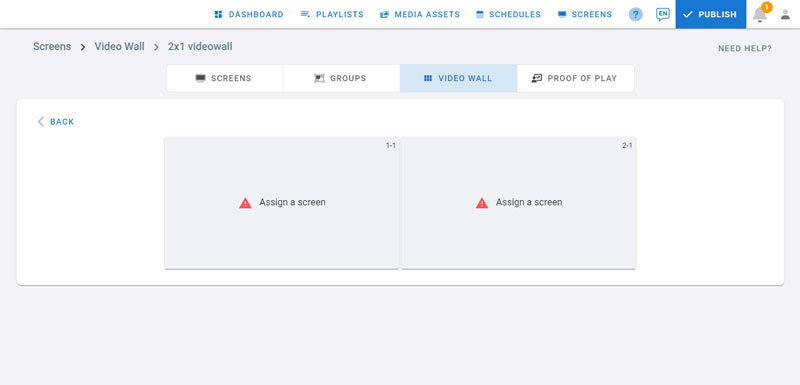
- In Zone 1-1, Click on Assign a Screen
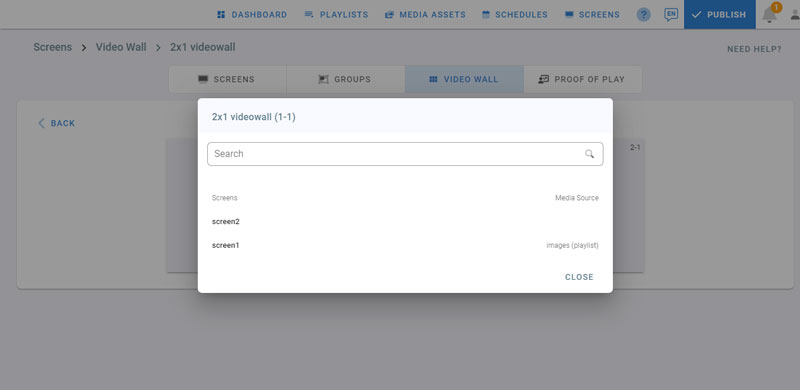
- Click on screen1 to assign it to the zone 1-1
- In Zone 2-1, click on Assign a Screen
- Click on screen2 to assign it to zone 2-1
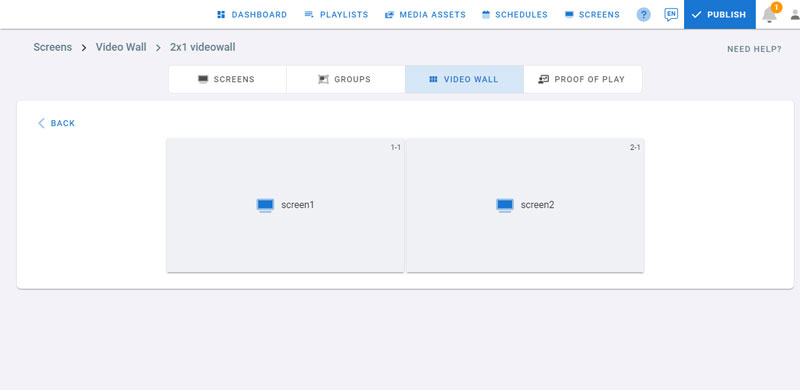
- Screens are assigned as shown in the picture
- Click on Back
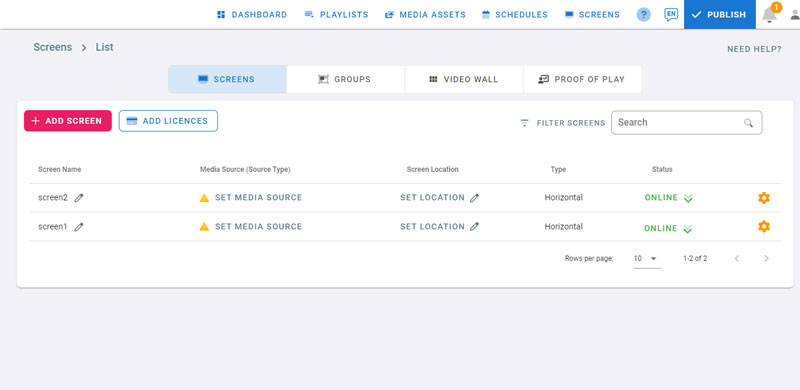
Step 5: Set Media Source
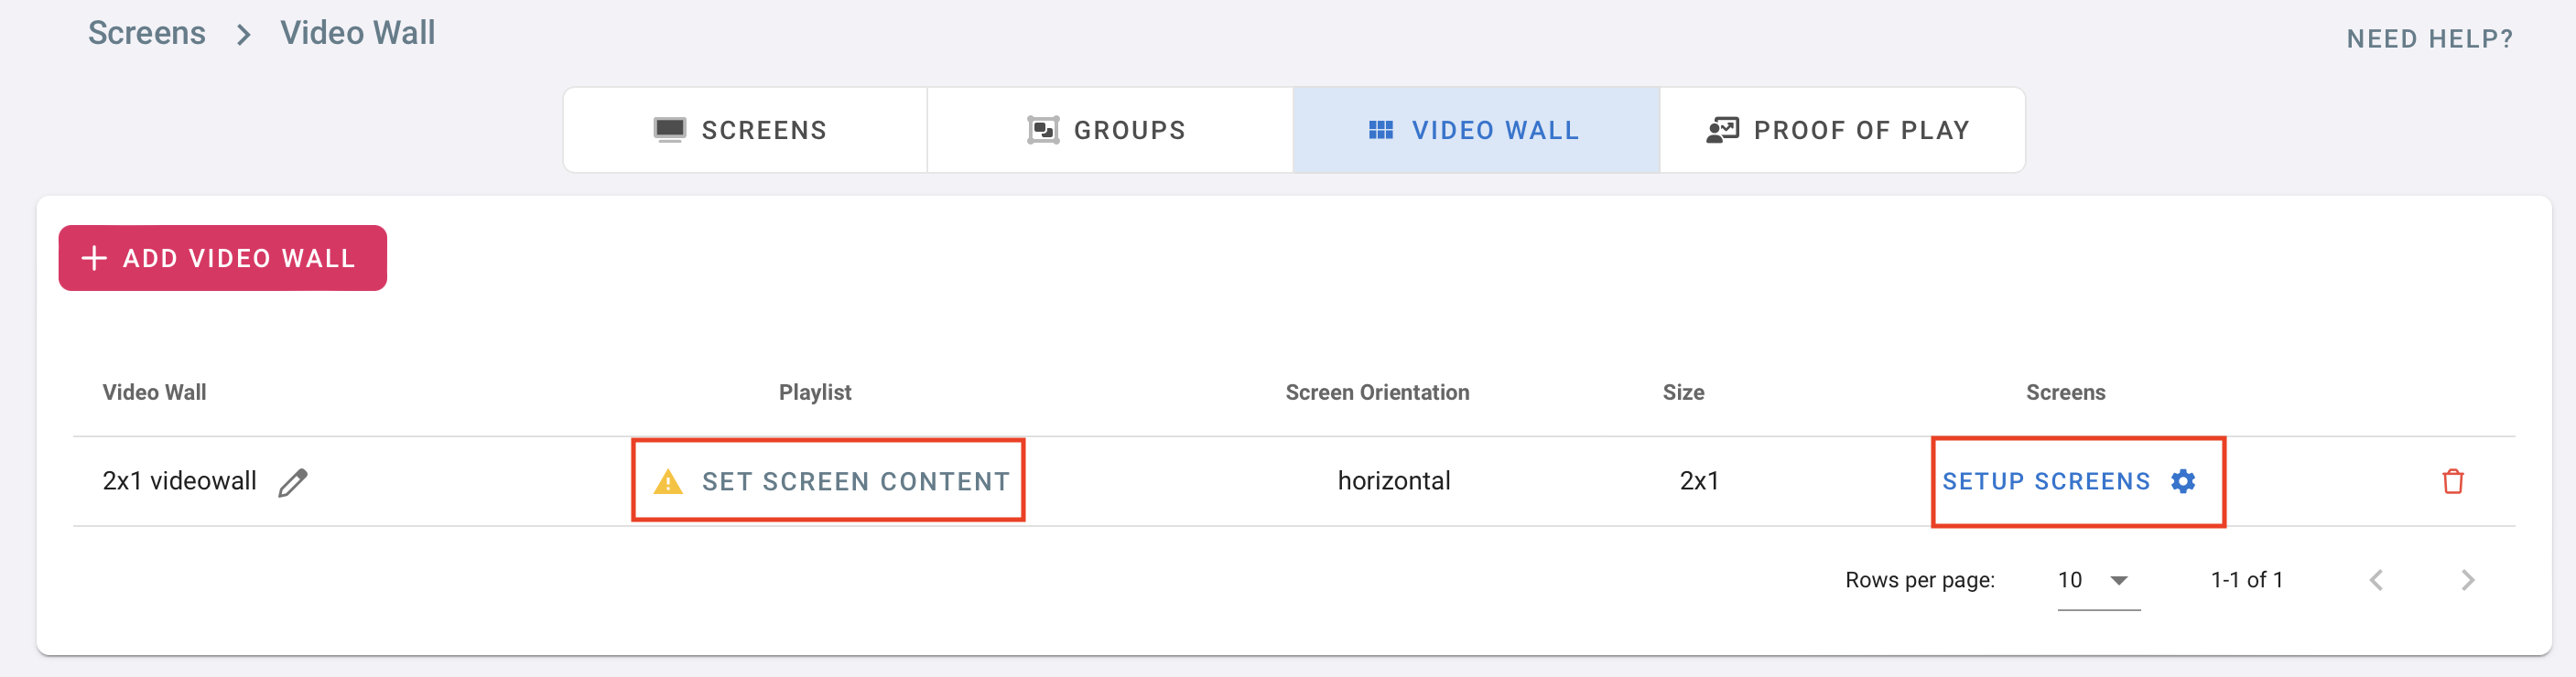
- Click on Set Media Source
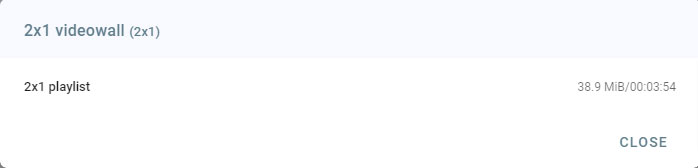
- Click on the playlist we created in Step 1
- To go back to the screen setup page, click on SETUP SCREENS
- Click on Publish
- Your videowall will download and play on your screens