Pre-provisioning allows you to prepare screens in EasySignage before they come online. This is useful when deploying many screens at once, sending pre-configured devices to clients, or working with installers.
When a pre-provisioned device connects to EasySignage for the first time, it will automatically link to the account and apply the settings you configured.
Note: You must have enough available licences to pre-provision screens. For example, if you want to pre-provision 10 screens, your account must have at least 10 unused screen licences.
You can bulk pre-provision up to 50 players at a time using the CSV upload tool.
Benefits of Pre-Provisioning
- Bulk deploy devices faster
- Assign playlists and tags before installation
- Simplify onboarding for clients or installers
- No need to manually activate every screen
- Supports Android, WebOS, Tizen, Windows, macOS, Linux and Brightsign
How It Works
- Add your screen’s Serial Number before installation
- Assign a Name, Playlist, and optional Tags
- Ship or install devices
- When the device connects, it auto-registers and applies its settings
Typical Workflow
| Step | Action |
|---|---|
| 1 | Generate or collect device serial numbers |
| 2 | Pre-provision devices in EasySignage |
| 3 | Install screens on-site |
| 4 | Devices auto-link to the account and apply settings |
Adding a Device
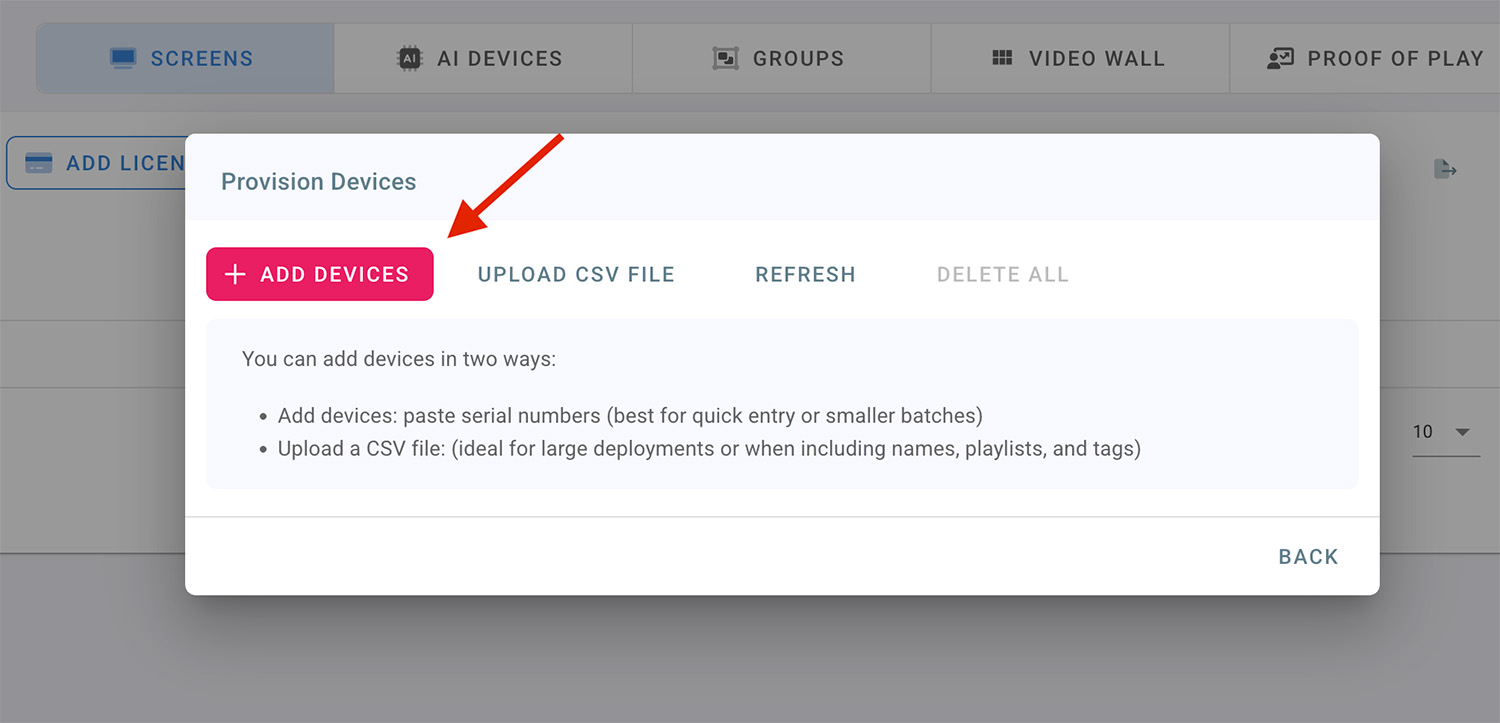
You can add devices in two ways, manually or upload a CSV file:
1. Manual Entry
- Go to Screens tab
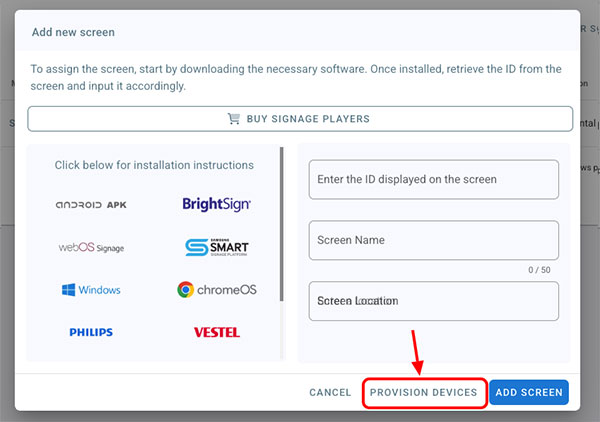
- Click on “Add Screen”
- Click “Provision Devices”
- Click “Add Devices”
- Paste the serial number of your device. (You can add more than on serial number, one per line, or separated by commas or spaces)
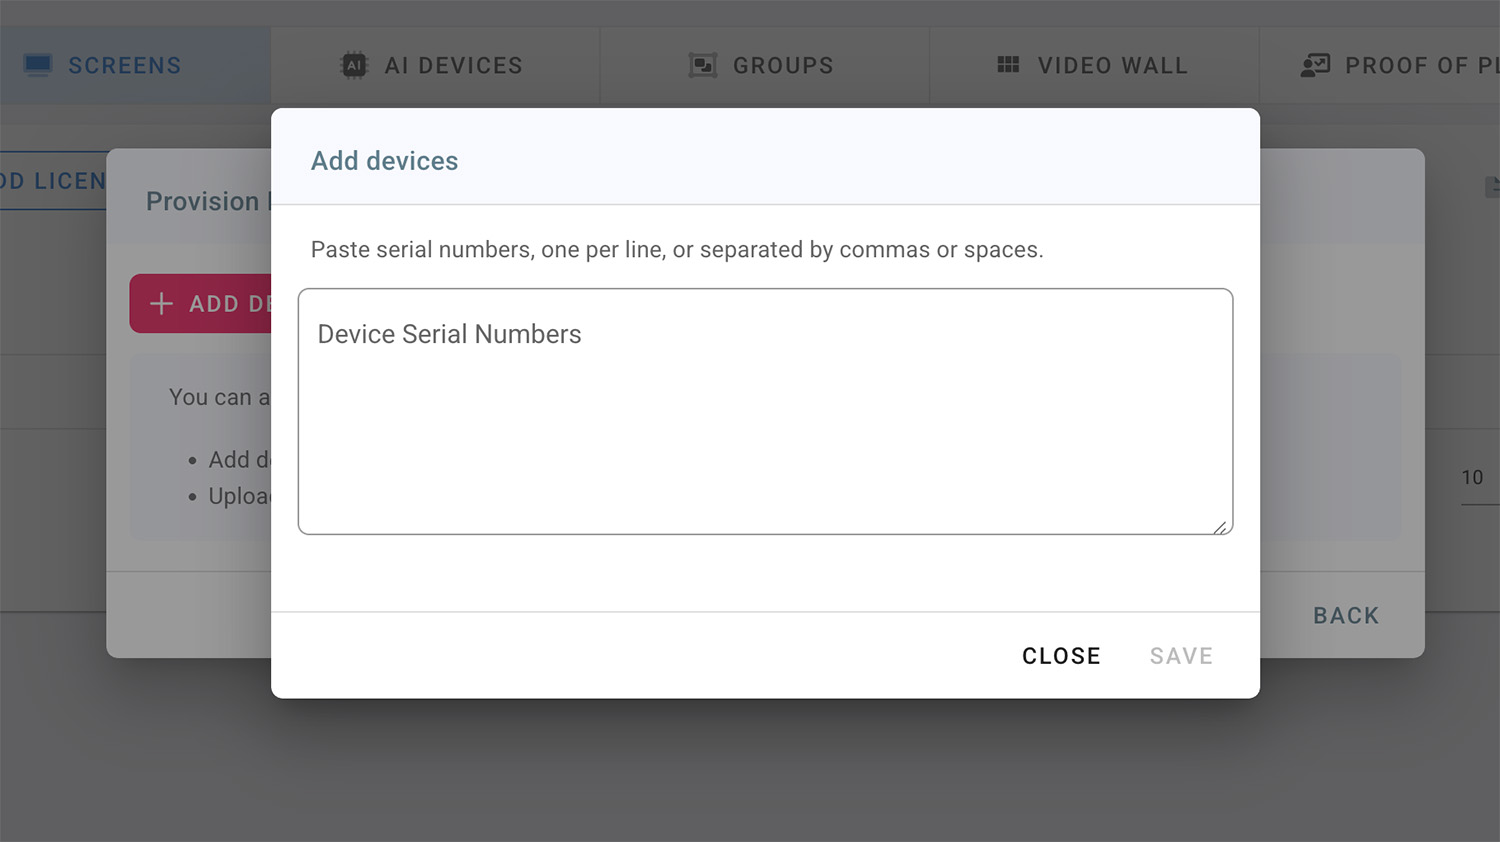
- Click “Save”
- Enter the following:
- Name (optional)
- Playlist (optional)
- Tags (optional)
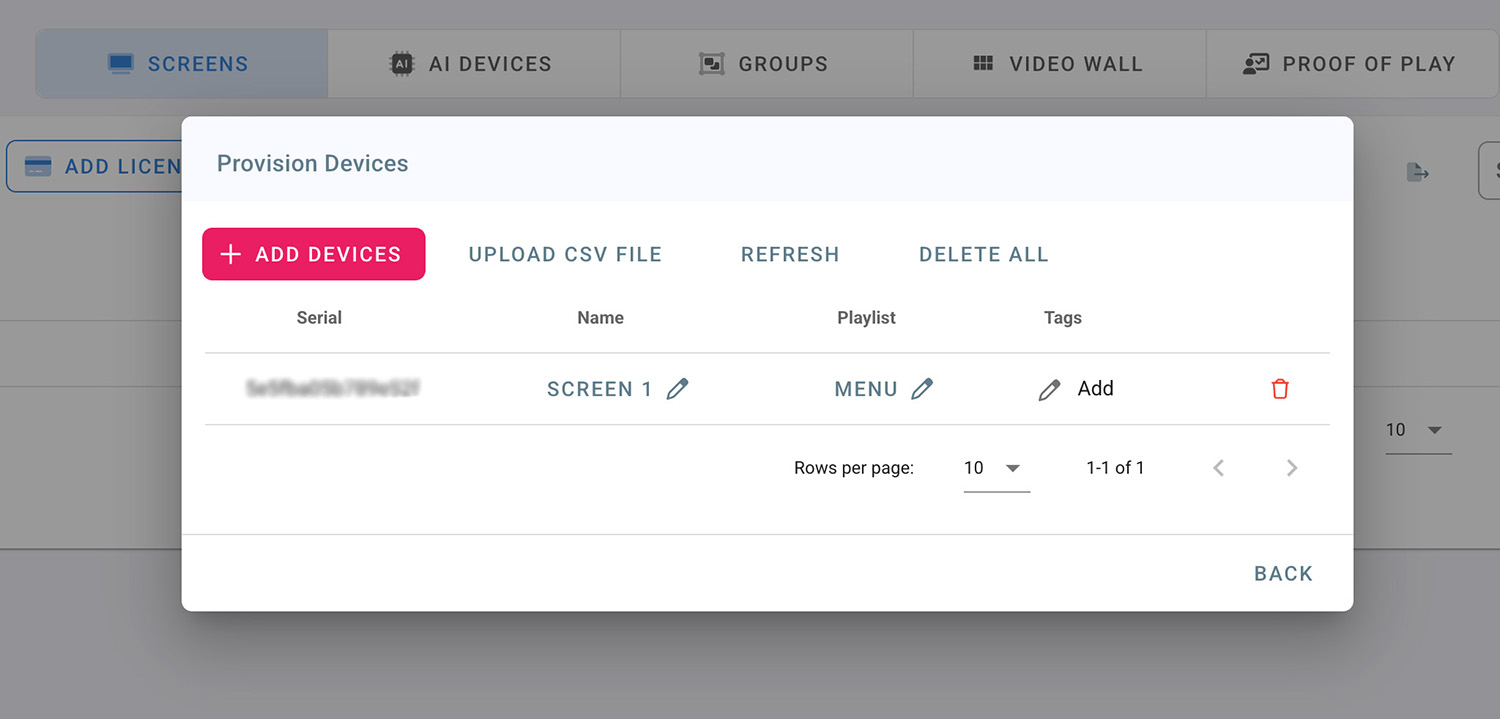
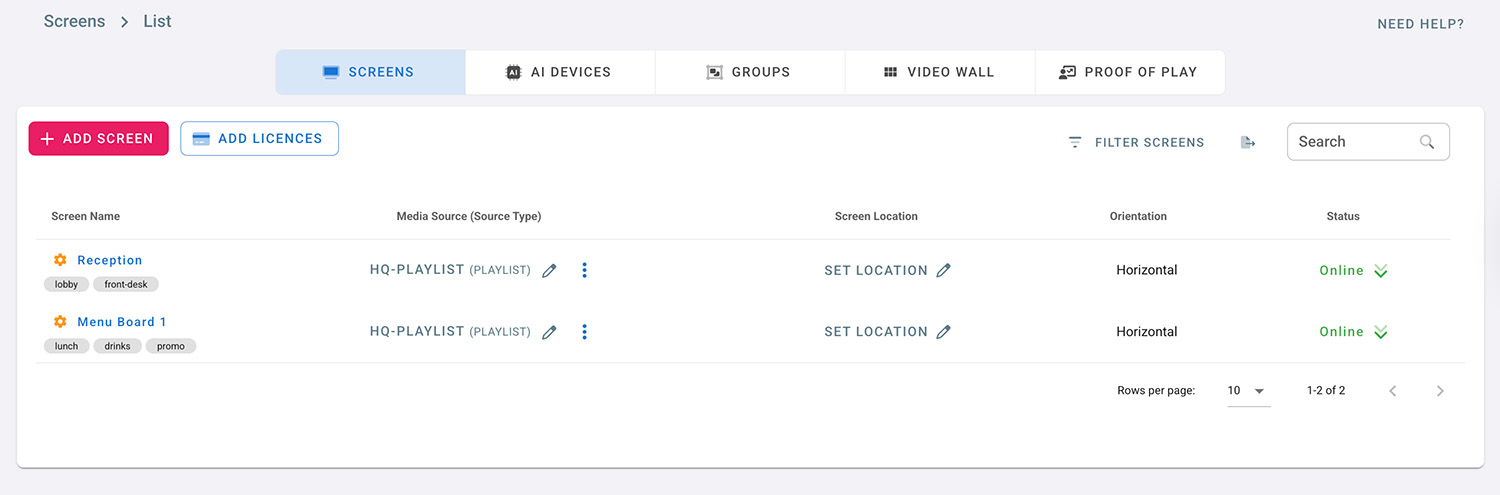
Now, when the device connects, it auto-registers and applies the settings.
2. Bulk Import via CSV
Upload a CSV file to add multiple devices at once.
Maximum 50 devices per CSV upload
CSV Format Example:
serial,name,playlist,tags
SN001,Reception TV,Welcome Playlist,frontdesk;reception
SN002,Menu Board,Menu Playlist,restaurant;menu
Tags support
,or;separators
- Click on the “Add Screen” button
- Click “Provision Devices”
- Go to “Upload CSV File” tab
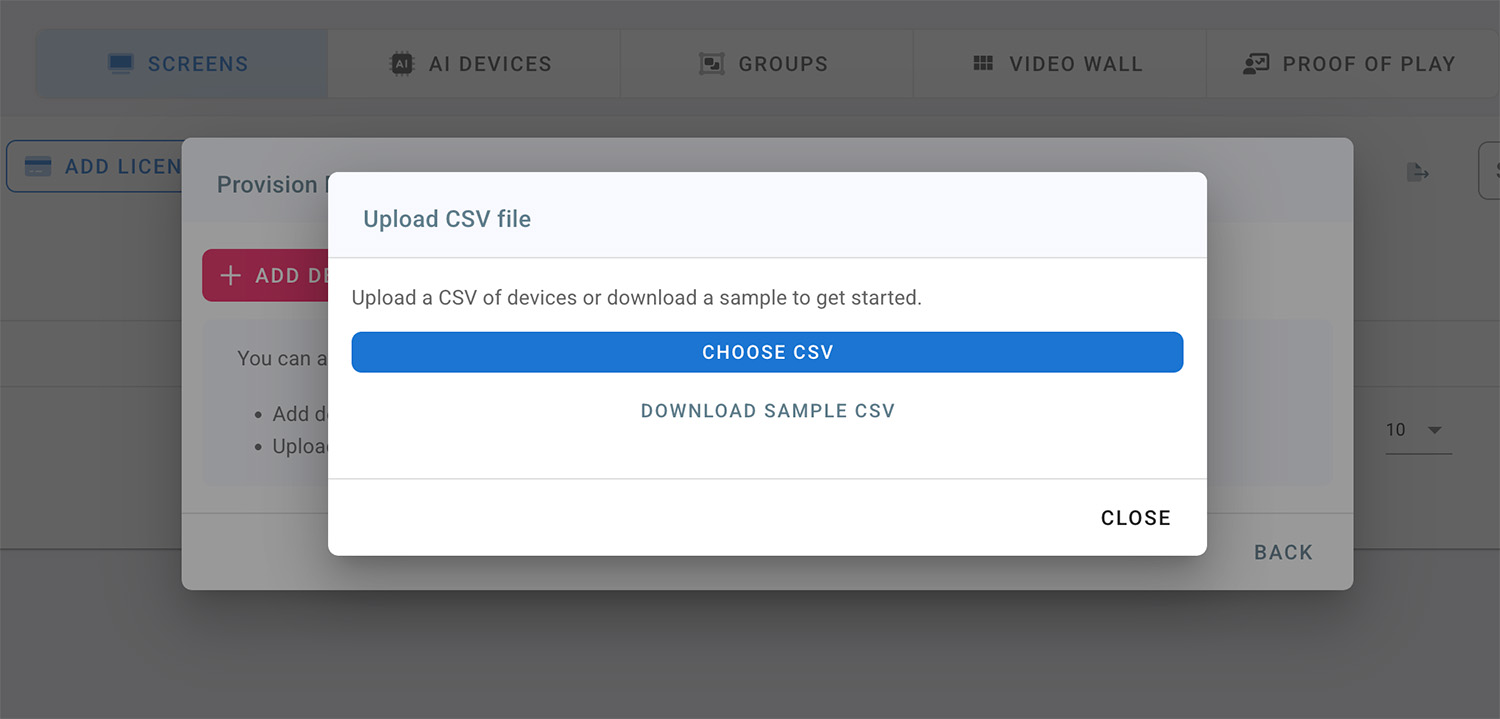
- Choose CSV file to upload devices.
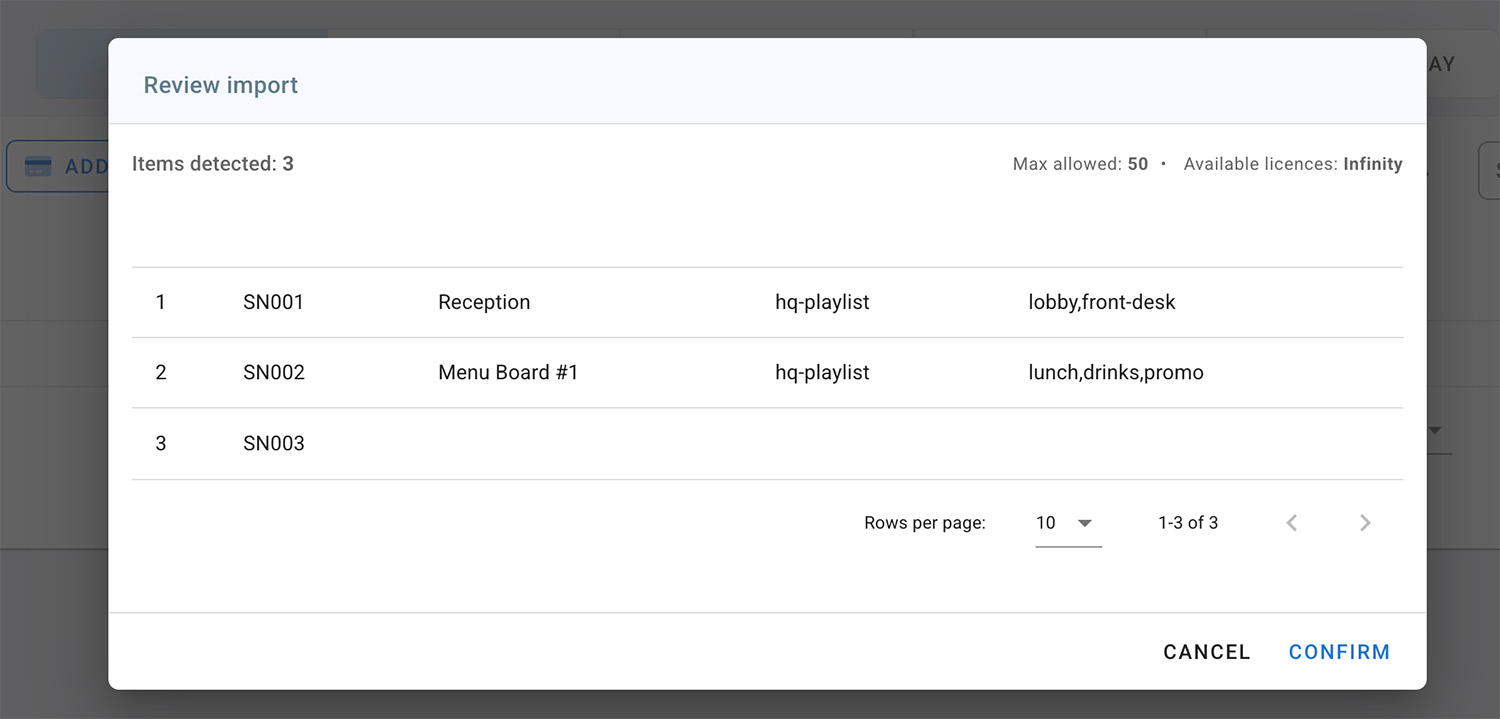
- Click “Confirm” to save data
When installed devices connect, they will automatically register and apply the settings.
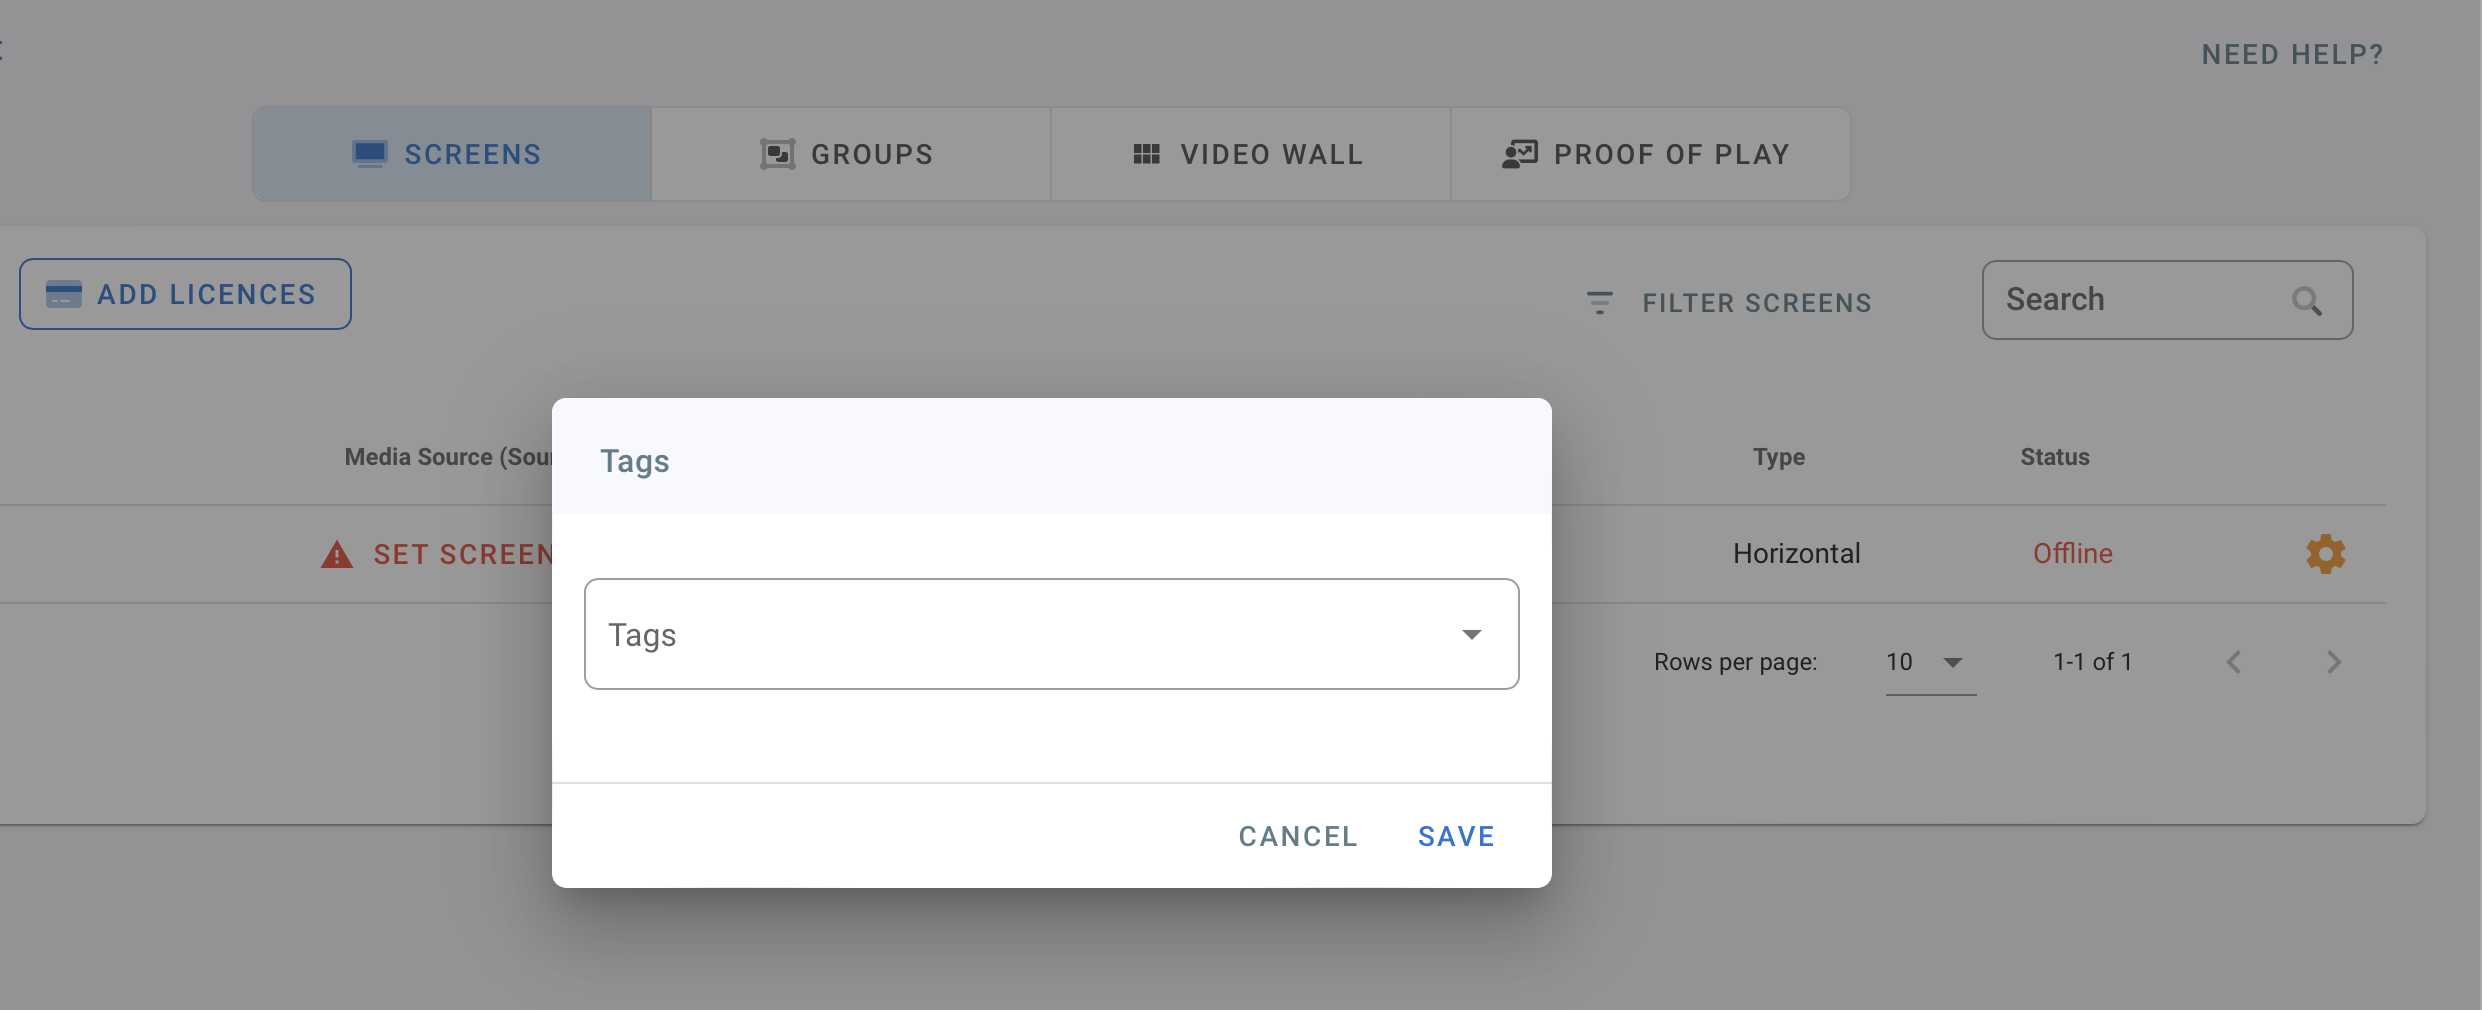
Tags
Tags help group screens and automate content assignment.
Examples:
receptionmenugymstore-123
Read more about Tags.
Device Activation
When the device connects for the first time:
- It checks for matching serial number
- Applies assigned Playlist/Tags
- Appears in the Players page
Tips
- Use CSV for large deployments
- Keep serial numbers consistent (case insensitive)
- Use tags for organization and automation
- Test with one screen before mass rollout
FAQs
| Question | Answer |
|---|---|
| What if a serial number already exists? | The new one will not override an active screen |
| Can I change settings after provision? | Yes, you can edit anytime |
| Do devices need internet? | Yes, for initial activation and updates |
| Can I bulk delete provisions? | Yes via the UI |
Need Help?
If you need assistance or bulk deployment support, contact: support@easysignage.com