Proof of play provides statistics about media playback.
Step 1: Enable Proof of Play Globally in the system
This feature can be enabled at the Management Console from the Settings Page.
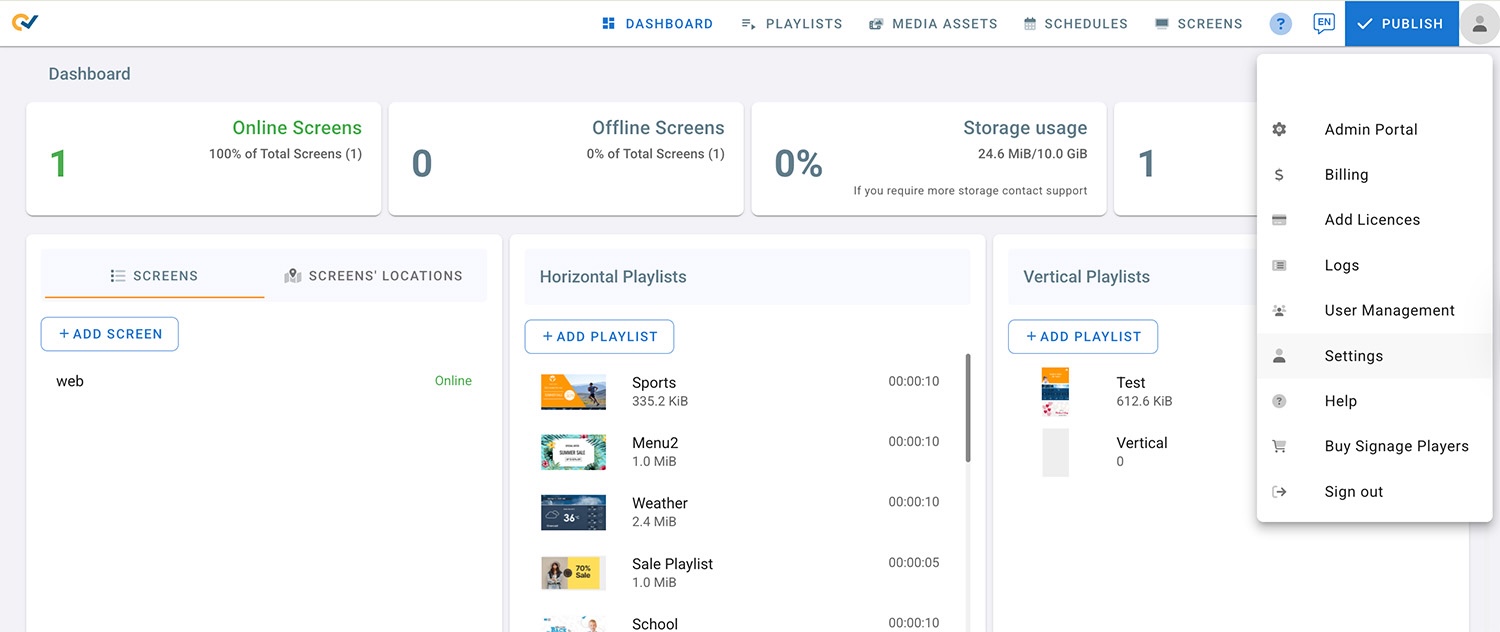
Click on the account profile on the top right corner.
Select Settings.
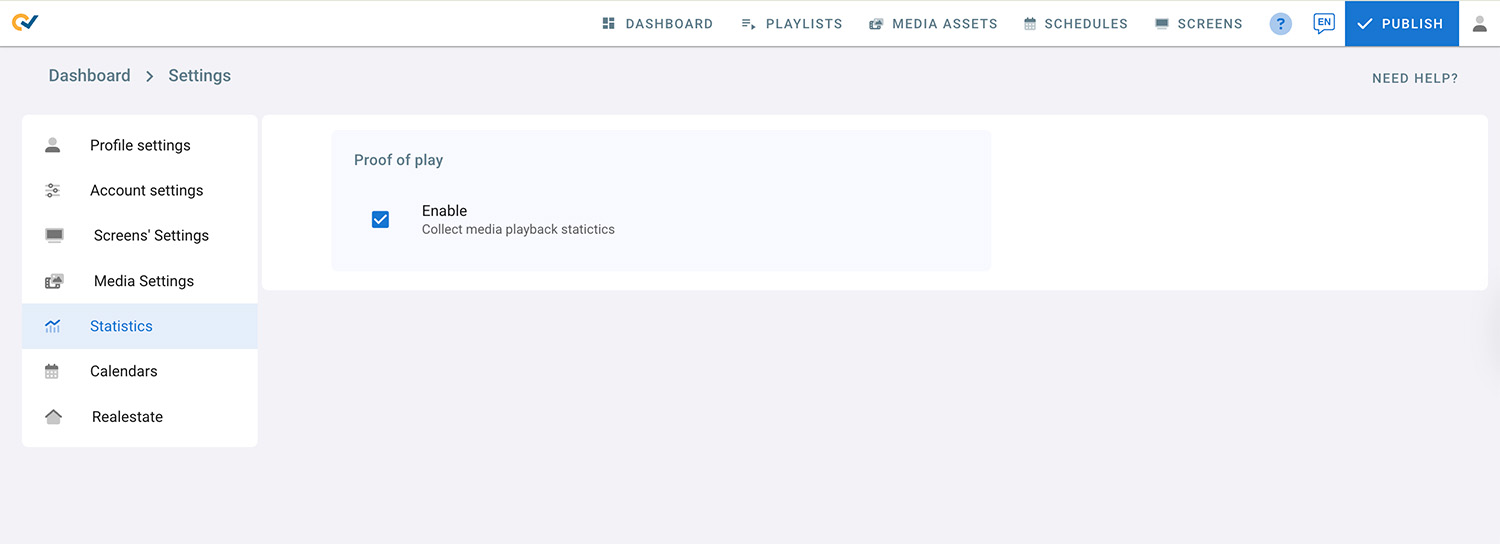
Go to Statistics.
Check the proof of play check box to enable this feature
Step 2: Enable Proof of play on the media
- Go to playlists page and click on your playlist
- Click on a layer
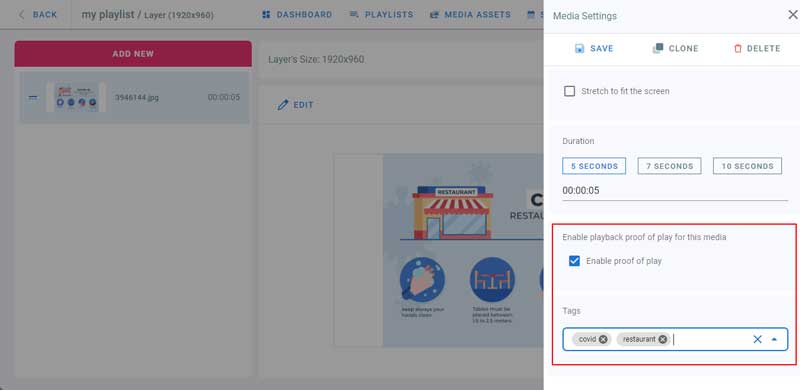
- Click Edit on the media to add to proof of play
- In the Media Settings panel on the right check Enable proof of play checkbox. This way you can choose which media you want to get statistics for.
- Enter the tags for each media, they will be used to filter the proof of play logs later.
- Change Media Name if required, it will also help you identify this media in the proof of play logs.
- Click on Save
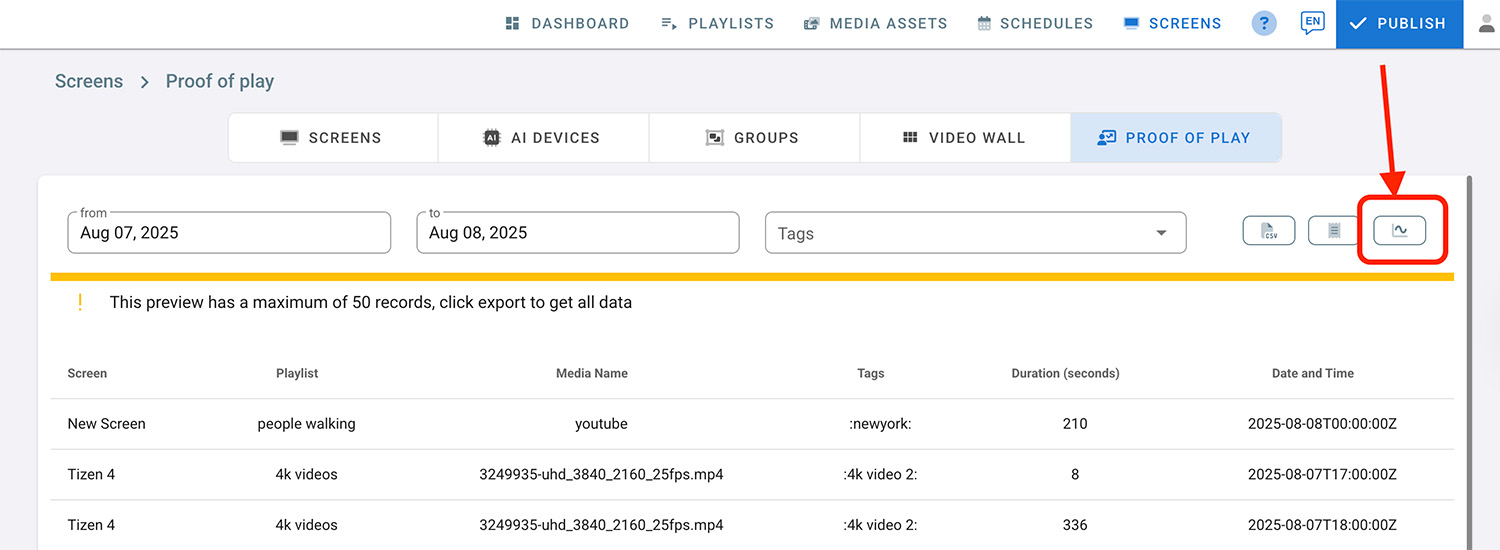
Step 3: Preview Statistics
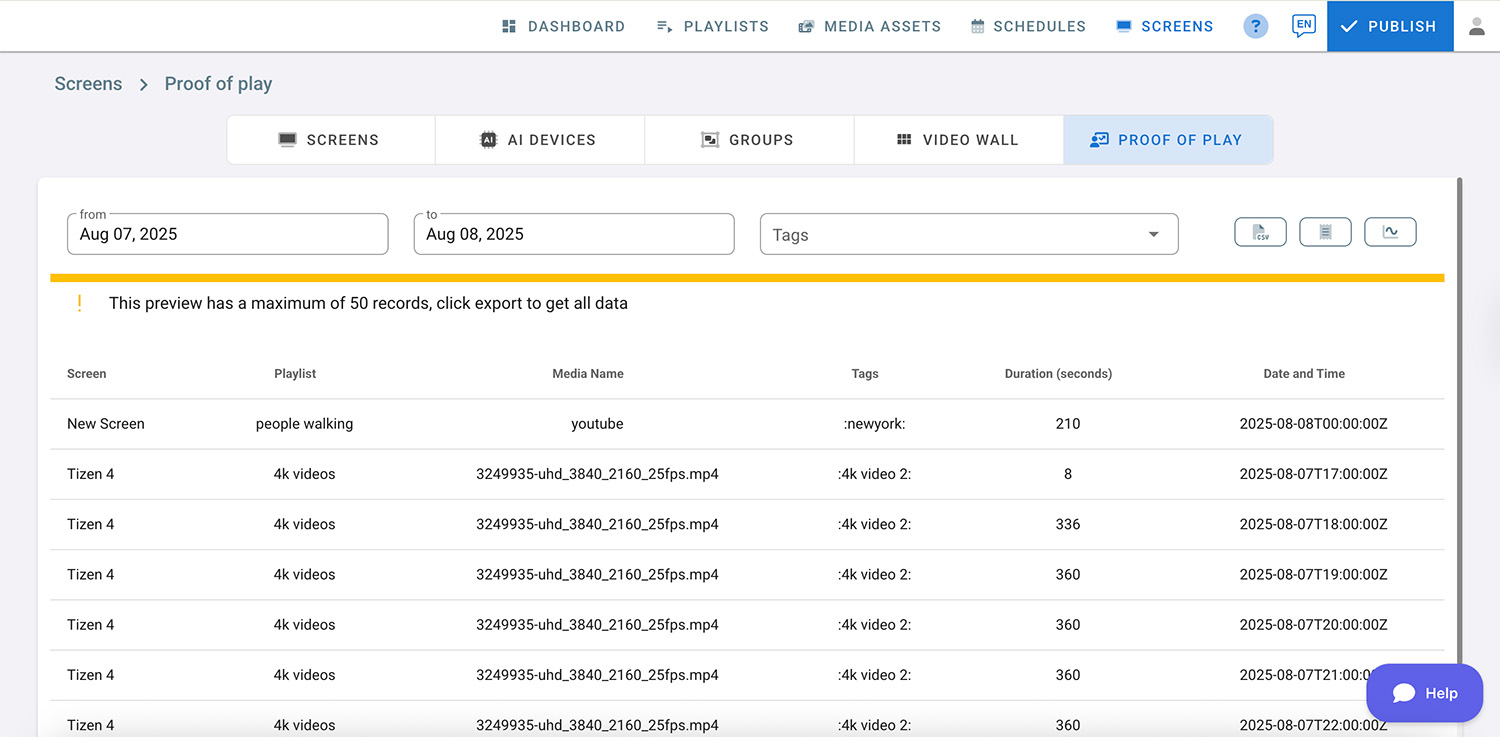
- Go to Screens Page
- Click on Proof of Play
- Choose a start and end date
- Choose tags from the drop down by checking them to filter the list
- Click on Preview
- Click on Export to export the results to a CSV file.
Step 4: Proof of Play Dashboard
The Proof of Play dashboard provides easy-to-read data reports on media playback statistics, enabling you to effectively monitor digital signage content and create successful ad campaigns.
- Click the “Open Dashboard” button next to “Preview”.
- The Proof of Play Analytics dashboard will open in a new tab.
- In the Filters section, select a date to view the report.
Filters (optional):
- In the “Players” field, choose a specific player to see its data for the selected date.
- In the “Playlist” field, choose a specific playlist to view its data.
- In the “Media Files” field, select a specific media file to view its data in the report.
- In the “Tags” field, select a specific tag to view its data in the report.
Note: if there’s no data available in the report, the Players, Playlist, Media Files, and Tags fields will not show.

- You can click the Toggle in the bottom right corner for a fullscreen view.
Step 5: Manage Accounts
In this section, you can manage your dashboard by adding accounts, creating teams, and assigning these teams to specific accounts for access and control.
- Click the profile icon in the top right corner.
- Select Manage Accounts.
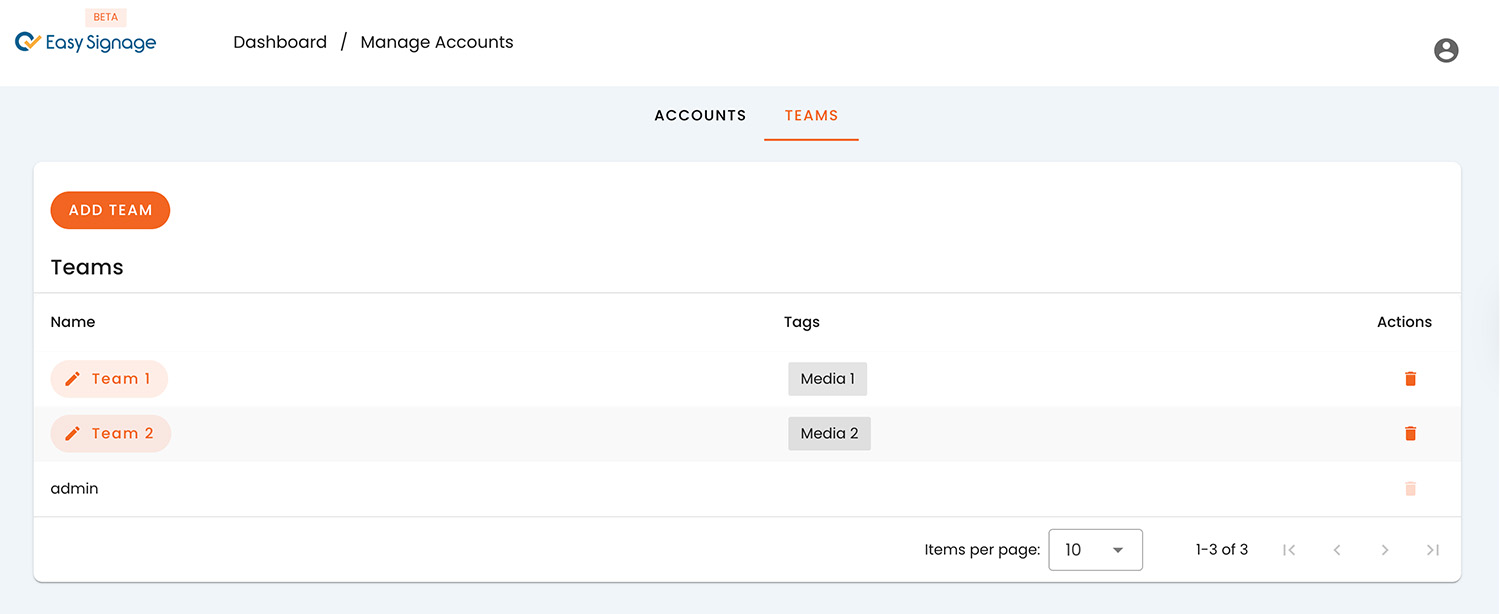
- Navigate to the Teams tab and click “Add Team”.
- Enter the Team name and relevant media tags for this team to access.
- If no tags are assigned, the accounts in this team can have full media access.
- Now, navigate to the ACCOUNTS tab and click “Add Account”.
- Enter the account you want to grant dashboard access (e.g. example@domain.com).
- Select a team from the dropdown menu.
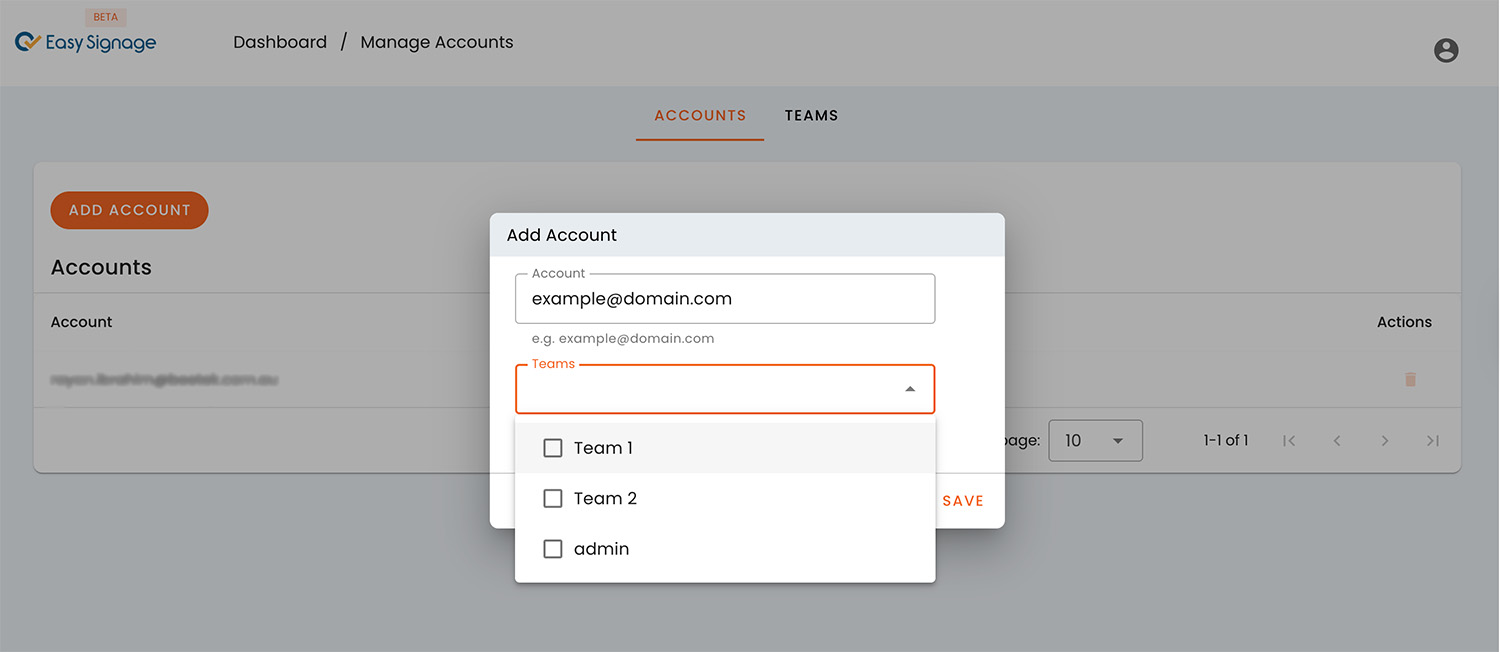
- Now, the added accounts will have access to your proof of play dashboard based on their associated team and assigned media tag.