Playback times let you control when content in your playlist plays on your digital signage screens. Set a date and time range so a layer starts and stops automatically, and add a weekly schedule to play it only at certain times on certain days.
Playback times was previously called Media Lifetime.
How to Set Up Playback Times
To set up playback times follow the steps below:
- Click on PLAYLISTS
- Open an existing Playlist or create a new one
- From the layout preview, click on one of the layers to assign playback times.
- At least one layer must be added
- Each layer has its own playback times
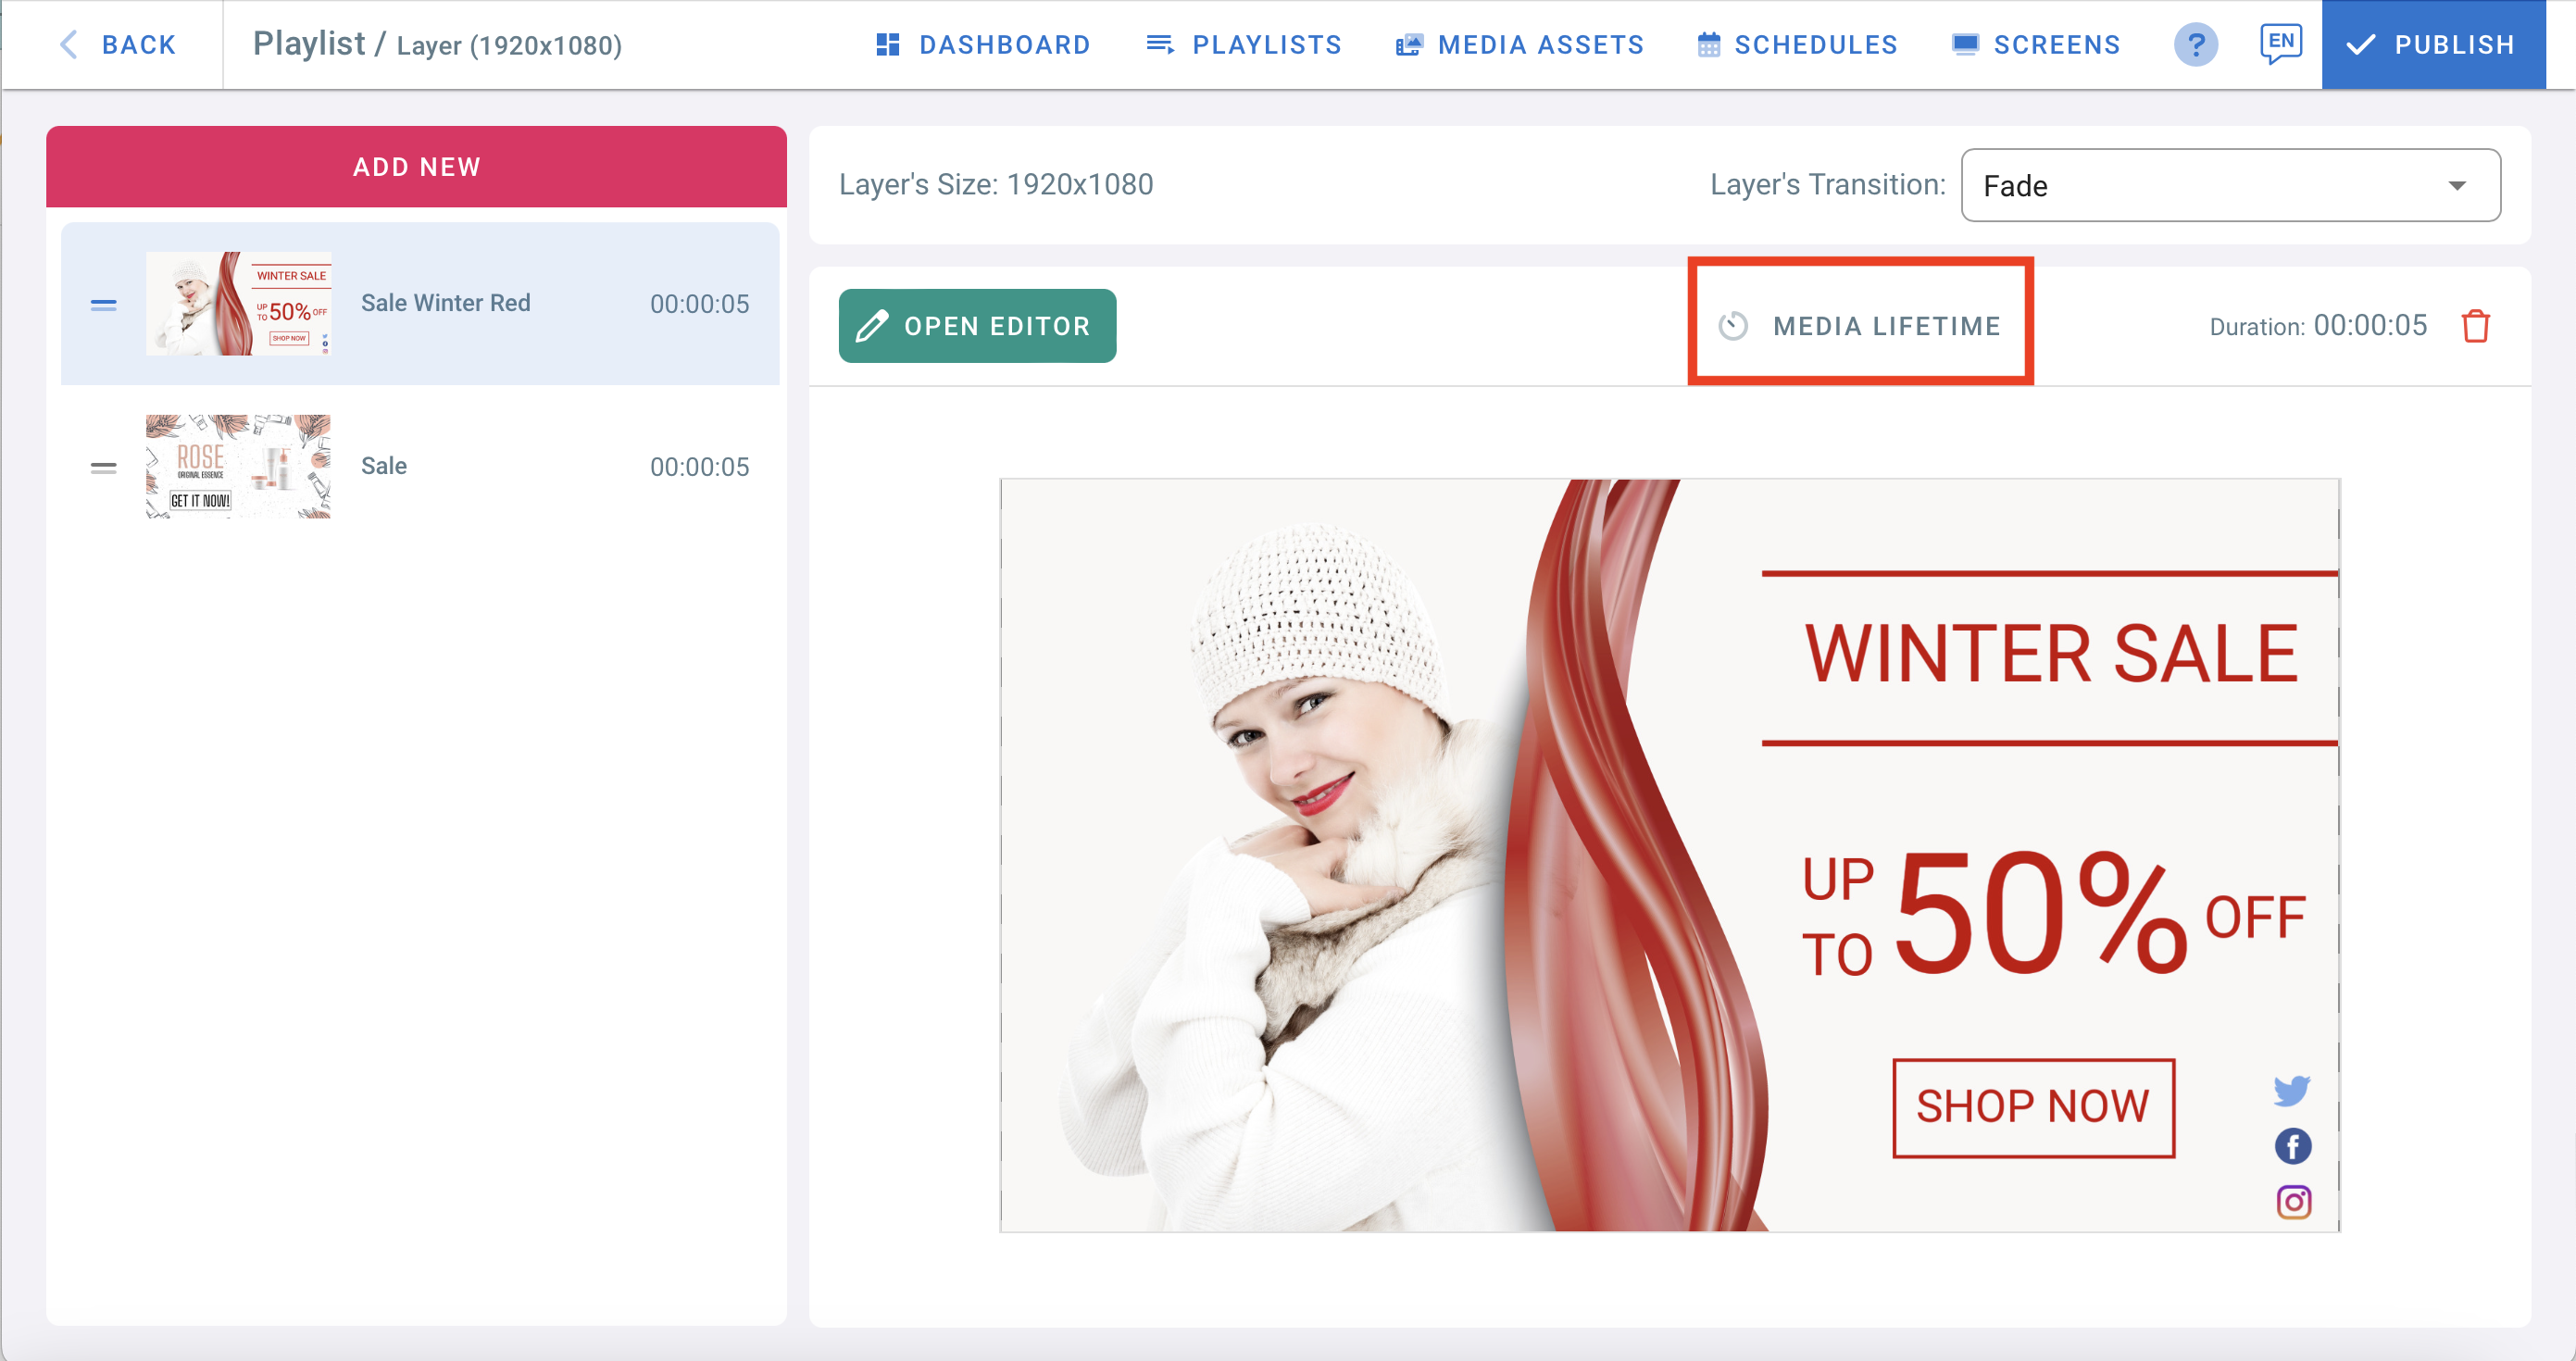
- Click on PLAYBACK TIMES
- The Playback times box will open
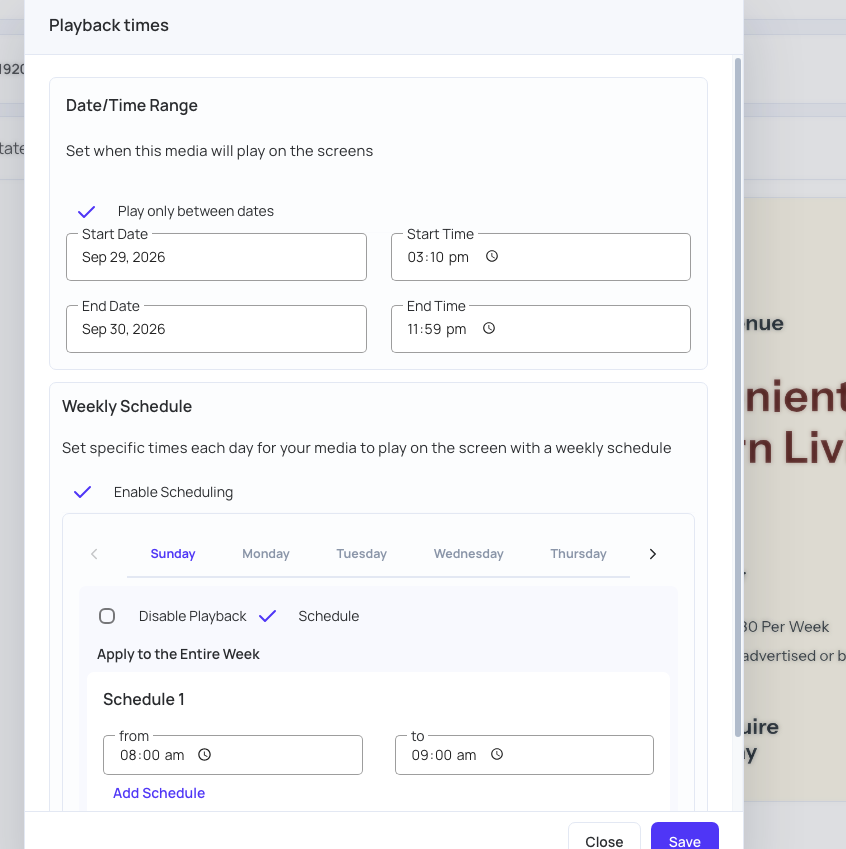
Date/Time Range
Use the date/time range to set when this media will play on the screens.
- Check Play only between dates
- Enter a valid Start Date and End Date
- Enter a valid Start Time and End Time
- Click Save
Weekly Schedule
A weekly schedule lets you set specific times each day for your media to play on the screen.
To set a weekly schedule:
- Check the box labelled Enable Scheduling.
- Select the day you want to set the schedule for, such as Wednesday. You can create schedules for the entire week.
- Click on Schedule. To stop the layer playing on that day, check Disable Playback instead.
- Edit the from and to times for the schedule.
- You can apply this timing to the whole week by clicking Apply to the Entire Week.
- To add another schedule, click on Add Schedule. You can add up to 3 schedules for each day.
- Once done editing, click Save, then click the button Publish to the Screen to send the weekly schedule to the screen.
Ensure your screen is set to the correct timezone for the schedule to function properly.
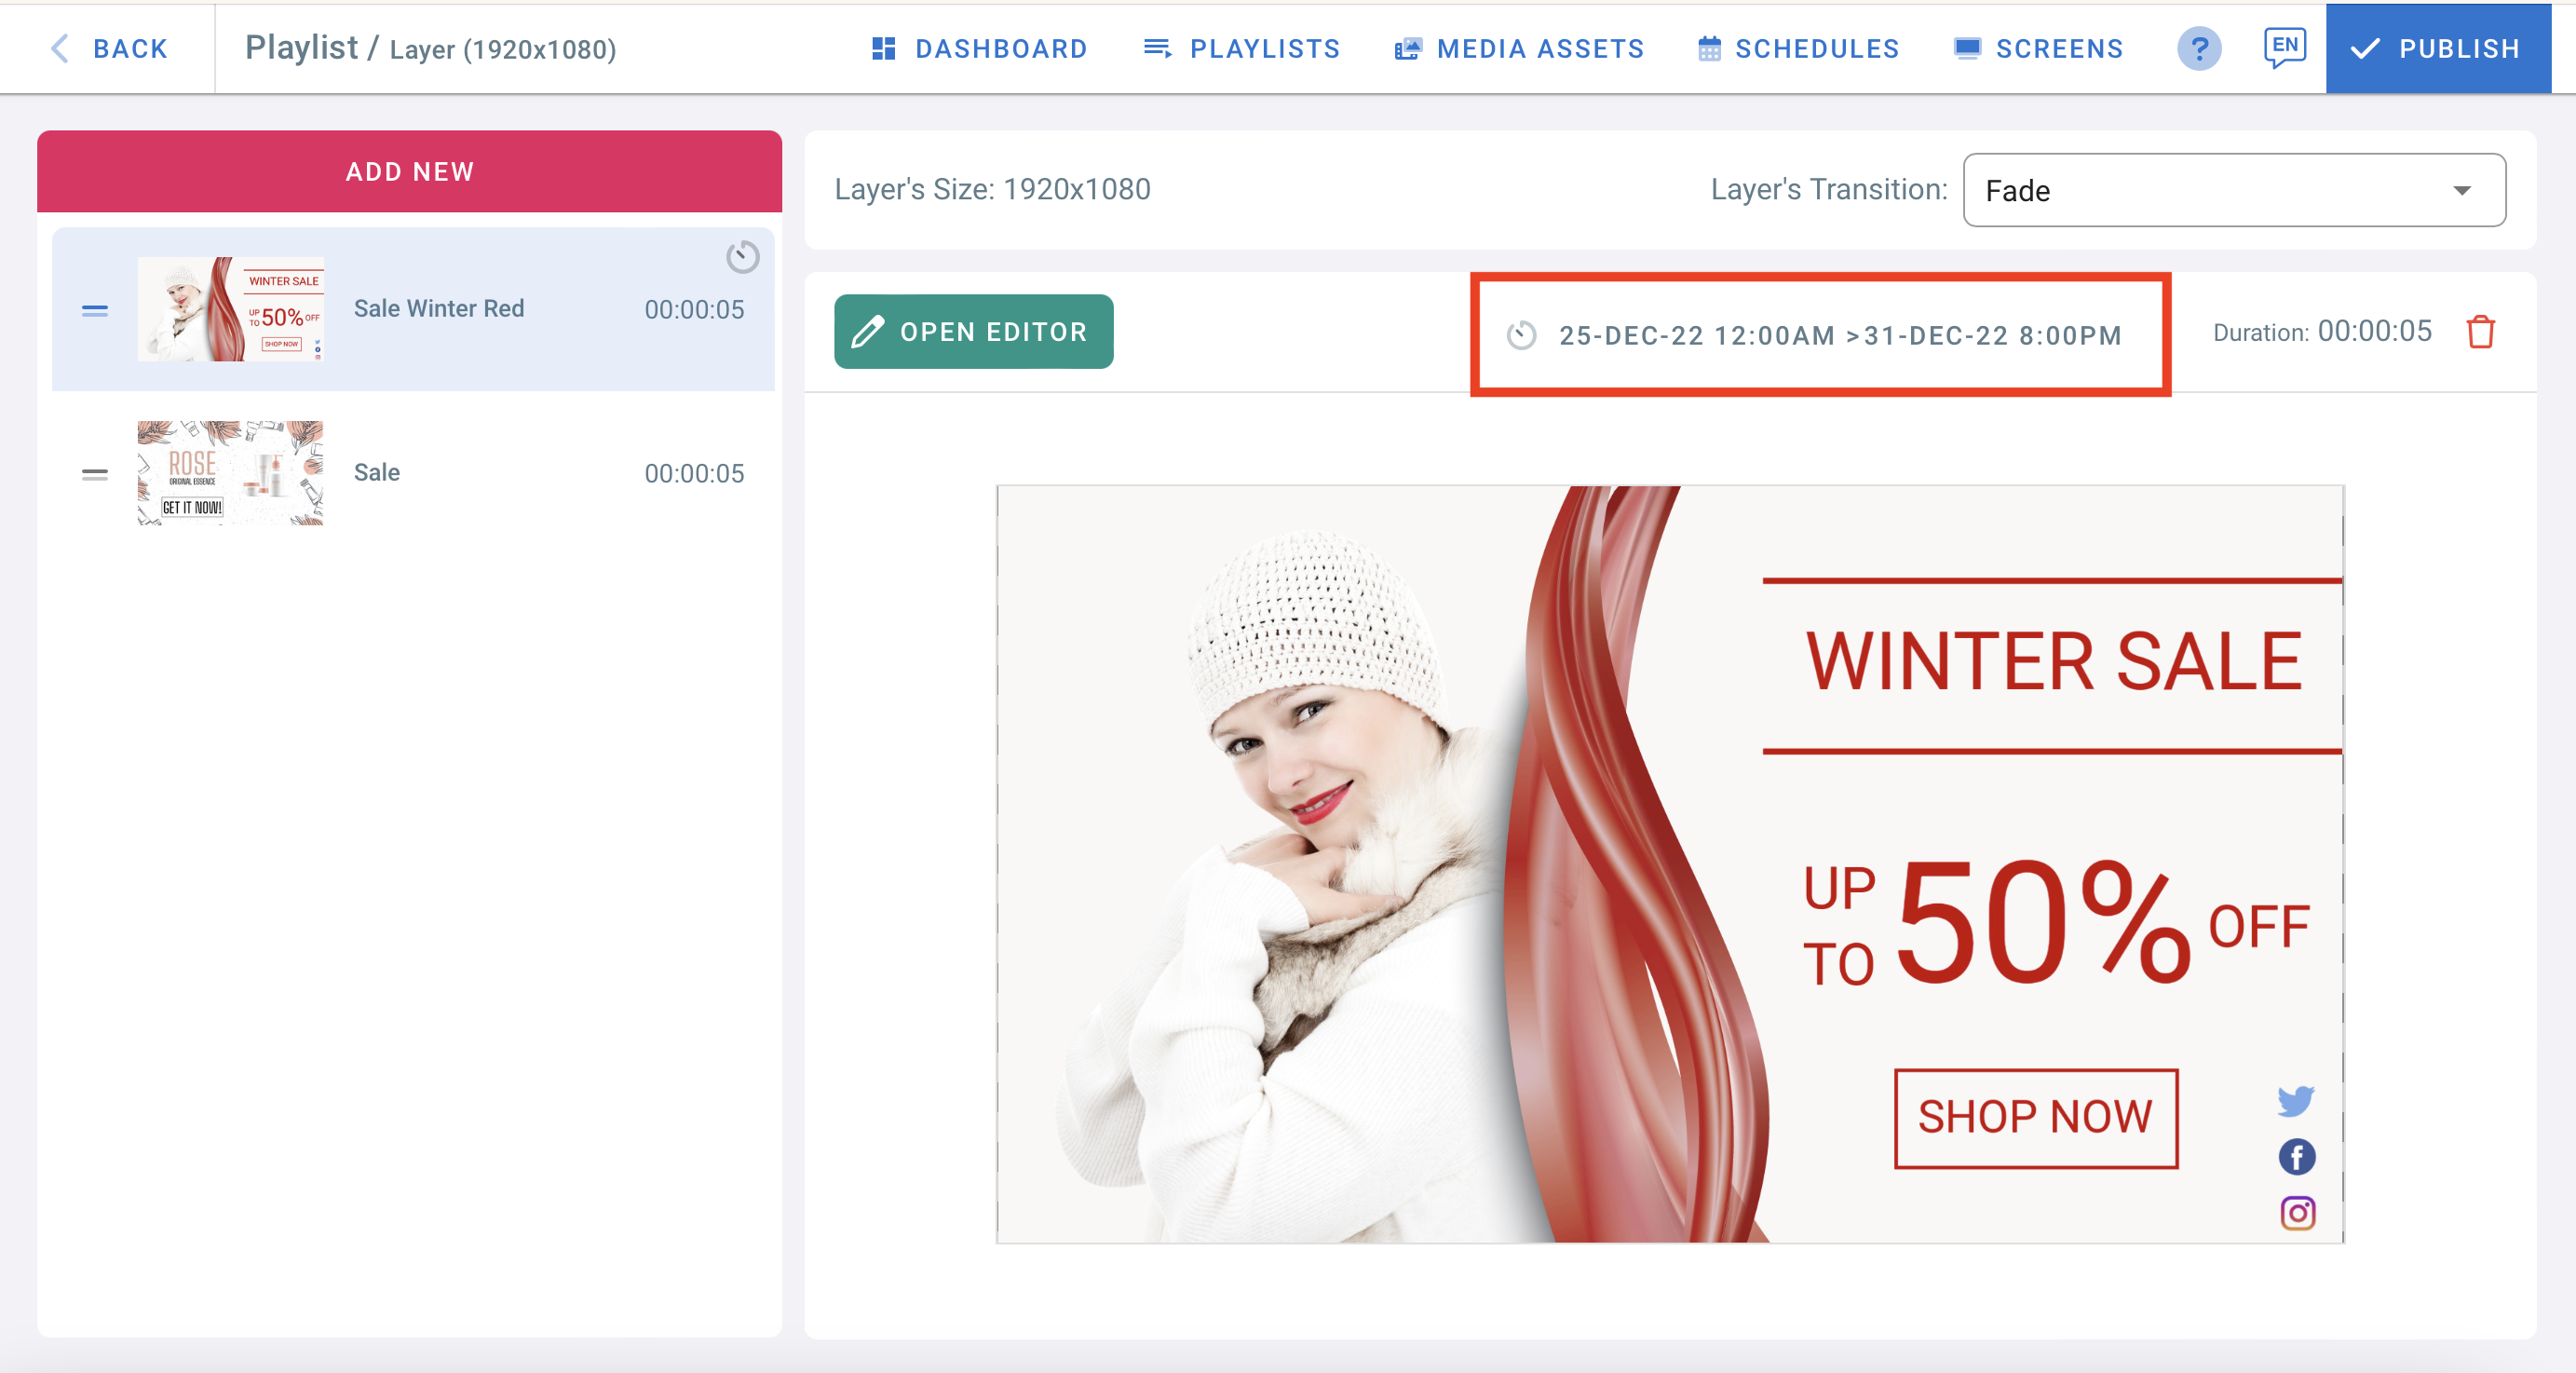
The layer in the playlist will now play on your display only within the playback times assigned to it. Once the end date and time pass, the layer will stop playing on your display.