Connect your EasySignage account to Zapier, and the other apps you already use can put content on your screens without anyone opening the dashboard. A new file in Google Drive becomes a media item and goes live. A row in a spreadsheet changes what is playing.
Zapier works in one direction: it sends content and commands into EasySignage. It does not read your media library back out, so connecting it does not put your content anywhere else.
What You Can Do
A Zap runs a series of steps. A step that starts the Zap is a trigger, and it comes from another app, such as Google Drive, Gmail, a spreadsheet, or a form. The steps that follow are actions, and these are the EasySignage actions available to them.
| Action | What it does |
|---|---|
| Create Media From URL | Adds a file to your media library from any link, and can place it in a folder and a playlist. |
| Remove Media From Playlist | Takes an item out of a playlist. The file stays in your library. |
| Disable Media | Takes content off the screens without deleting it. Addresses one item, or every item carrying a tag. |
| Enable Media | Puts disabled content back on the screens. Addresses one item, or every item carrying a tag. |
| Publish Content to Displays | Sets what chosen screens play, and pushes it live. |
| Publish Pending Changes | Pushes changes you have already saved, to every screen carrying a tag or to every screen playing a particular playlist. |
| Set Display Power | Turns a screen’s panel on or off. |
Note: EasySignage does not start Zaps yet. Every Zap begins with a trigger from another app, and EasySignage actions follow it.
Before you begin
- Your account needs API access, which is included with the Premium and Enterprise plans.
- Sign in to the EasySignage account you want to connect. The connection is bound to the account you are currently managing, not to every account you can access.
- You need a Zapier account.
Connect EasySignage to Zapier
On the Zapier home page, open App Connections.
Select Create connection.
Search for EasySignage and select it.
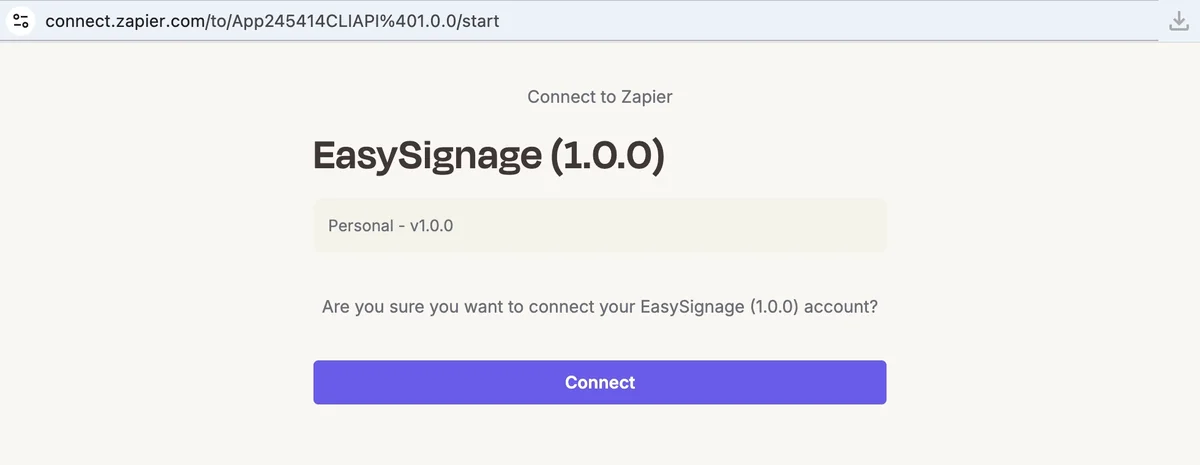
Zapier asks you to confirm. Select Connect.
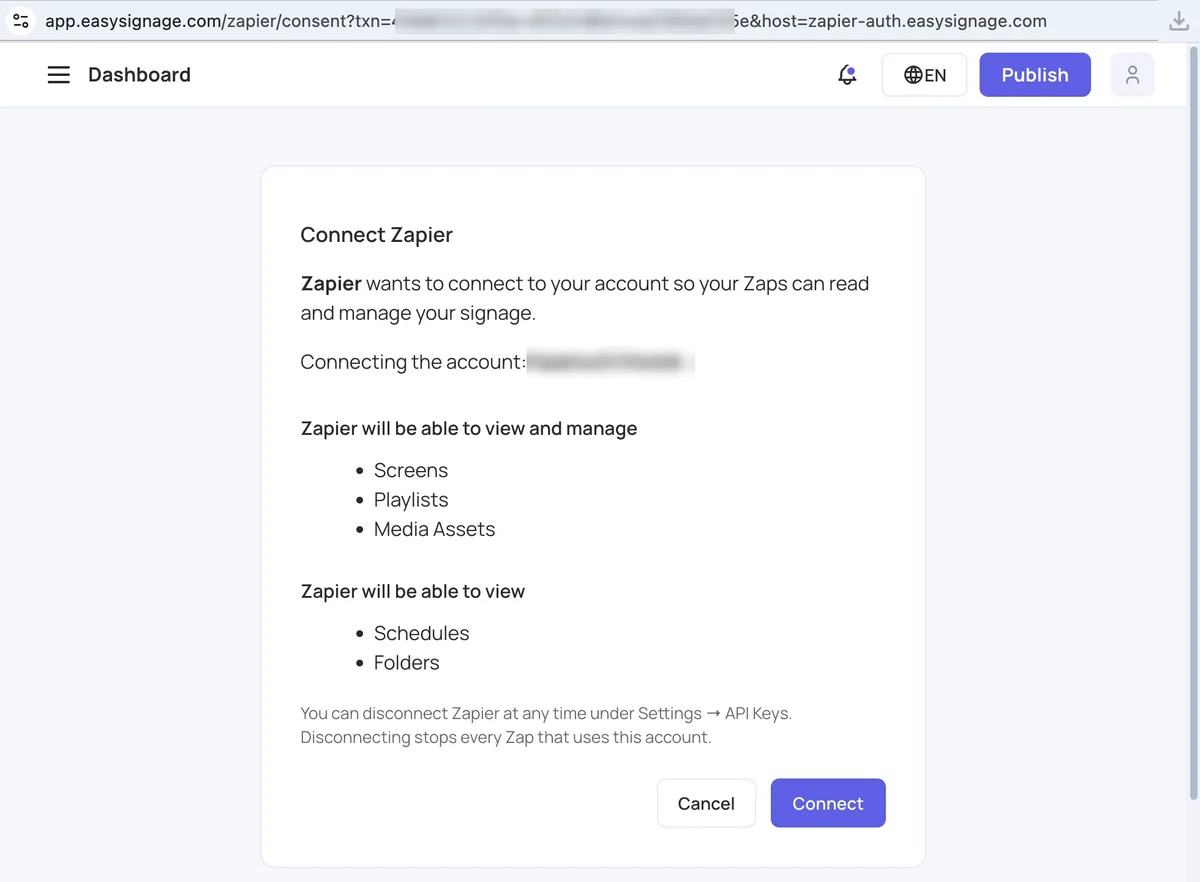
EasySignage opens and lists what Zapier is asking for. Sign in if you are asked to.
Check the name under Connecting the account, then select Connect.
Zapier confirms the connection and names it after your account. You only do this once. Every Zap you build afterwards can reuse the same connection.
Note: Zapier owns the first three steps, and its interface changes from time to time. If what you see does not match, see Zapier’s own help for adding and managing app connections.
What Zapier Can Access
Zapier asks for one fixed set of permissions, and you approve or decline it as a whole:
| Area | Access |
|---|---|
| Screens | Full access |
| Playlists | Full access |
| Media Assets | Full access |
| Schedules | Read only |
| Folders | Read only |
| Channels, Groups, Video Wall, Zones, Sync groups | No access |
Schedules and Folders are read-only because Zapier only lists them for you to choose from. Nothing writes to them.
Note: Unlike an AI assistant connection, you cannot narrow this area by area. Zapier ships a fixed set of actions, and an action left without permission would fail later with no way for Zapier to explain which one.
Build Your First Zap
This Zap watches a Google Drive folder and puts every new file on your screens.
- In Zapier, select Create > Zaps.
- For the trigger, choose Google Drive and the event New File. Connect your Google account, then choose the folder to watch.
- Select Test to pull in a recent file.
- Add an action and choose EasySignage, then the event Create Media From URL. The connection you made earlier is selected for you.
- Fill the fields:
- URL: the file’s link from the Google Drive step.
- Name: the file’s name.
- Playlist: the playlist the file should join.
- Select Test. The file appears in your media library.
- Add a second action, EasySignage > Publish Content to Displays.
- Choose the same playlist as the content, and pick the screens to publish to.
- Select Test, then Publish the Zap.
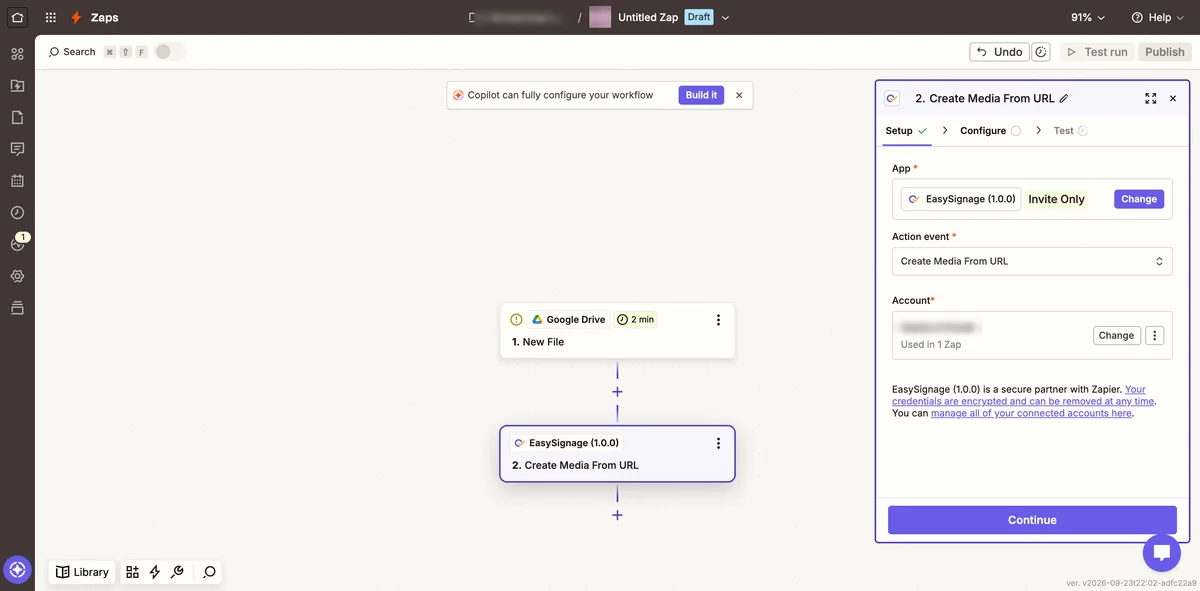
Drop a file into that Drive folder and it reaches your screens on its own.
Note: Google Drive checks for new files on a schedule rather than instantly, so allow a few minutes between adding the file and seeing it on screen.
Use Data From an Earlier Step
Most fields can take a fixed value you type, or a value produced by an earlier step. Using an earlier step’s output is what makes a Zap adapt to each run.
- Select the field.
- The data picker opens, listing every earlier step.
- Choose the step, then choose the field you want from it.
The value appears as a coloured chip. The chip is a reference, not fixed text: it shows the value from your last test, and at run time it resolves to whatever that step produced on that run.
A few things worth knowing:
- You can mix text and data in one field. Type
summer-and then insert a chip, and the field sendssummer-followed by the value. - A dropdown can take mapped data too. Open the list, scroll to the bottom, and choose Custom. A second box appears. Put the chip in that box, not in the dropdown itself.
- List fields take one value per row. Tags and Displays are lists. Use the + to add a row, and put one tag or one display in each. Do not type a comma-separated list into a single row.
- Test the earlier step first. A step only offers fields it has actually returned, so if the picker looks empty or shows generic names, run that step’s test and come back.
Configure Each Action
Create Media From URL
Adds a file to your media library from a link.
| Field | Required | What to put in it |
|---|---|---|
| File URL | Yes | A direct, publicly reachable link. EasySignage fetches it from its own servers, so a link needing a login or a browser session will not work. |
| Name | No | What to call it in the library. Defaults to the filename. |
| Folder | No | Which folder to file it in. Leave empty for the top level. |
| Add to Playlist | No | Appends the item to a playlist as soon as it is created. |
| Duration (seconds) | No | A whole number. Applies to images; videos play for their own length. |
| Tags | No | One tag per row. Tags are stored in lower case. |
Important: A playlist chosen here must already have a layout saved. If the playlist is brand new, open it once in EasySignage first. Items are appended to the playlist’s primary layer.
Tagging from an earlier step: select the Tags field, choose + to add a row, then map a value from an earlier step into that row. To tag by a value from a spreadsheet, for example, map the cell into the first row. Add a second row for a fixed tag you always want applied.
Publish Content to Displays
Sets what chosen screens play, then pushes it live.
| Field | Required | What to put in it |
|---|---|---|
| Content Type | Yes | Playlist, Schedule, Channel, Display Group or Video Wall. Changes what the Content field below offers. |
| Content | Yes | The item to show. |
| Displays | Yes | One or more screens, one per row. |
Content Type and Content work together. Choose Playlist or Schedule and the Content field becomes a dropdown you pick from. Choose Channel, Display Group or Video Wall and it becomes a text field instead, because this connection cannot list those areas. Paste the ID, or map it from an earlier step.
Important: Displays cannot be empty. If the field is mapped from an earlier step and that step returns nothing, the action stops instead of publishing. Publishing to every screen at once is not available from Zapier, so a misconfigured Zap cannot blank every screen you own.
Publish Pending Changes
Pushes changes you have already saved. It does not change what a screen is assigned.
| Field | Required | What to put in it |
|---|---|---|
| Which displays | Yes | Displays carrying a tag, or displays playing a content source. |
| Tag | If targeting by tag | One tag, in lower case. |
| Content Source | If targeting by source | The playlist whose screens should refresh. |
Only the field matching your choice is shown. Switch Which displays and the other one appears in its place.
Use this after something changed inside content that is already on screen: a playlist gained an item, or media was enabled or disabled. Targeting by content source is the one to reach for after Create Media From URL added a file to a playlist, because it refreshes exactly the screens showing that playlist without your having to know which they are.
Disable Media and Enable Media
Takes content off the screens without deleting it, and puts it back.
| Field | Required | What to put in it |
|---|---|---|
| What to disable / What to enable | Yes | A specific media item, or every media item with a tag. |
| Media Item | If targeting one item | The item to change. |
| Tag | If targeting a tag | One tag, in lower case. |
The two ways of addressing behave differently, and the difference matters in a Zap:
By item, EasySignage refuses a change that would do nothing. Only an enabled item can be disabled, only a disabled item can be enabled, and an item still processing can be neither. A Zap that runs twice will fail the second time.
By tag, items already in the state you asked for are skipped rather than failing, and the step reports how many items carried the tag and how many it changed.
Tip: Address by tag in any Zap that may run more than once. A by-item step fails the second time, because the item is already in the state you asked for.
Important: Neither action publishes on its own. Follow it with Publish Pending Changes, or the change never reaches the screens.
Remove Media From Playlist
Takes an item out of a playlist. The file stays in your media library.
| Field | Required | What to put in it |
|---|---|---|
| Playlist | Yes | The playlist to take the item out of. |
| Folder | No | Which folder to list media from. Defaults to the root folder. |
| Media | Yes | The item to remove. |
Choose the Folder before the Media. EasySignage lists media one folder at a time, so an item filed in a folder does not appear in the Media list until that folder is selected. Select Root folder to come back to the top level.
The Media list covers your library rather than the chosen playlist, because EasySignage cannot list one playlist’s contents. If you pick an item that is not in that playlist, the step reports it and nothing changes.
Set Display Power
Turns a screen’s panel on or off.
| Field | Required | What to put in it |
|---|---|---|
| Display | Yes | The screen to change. |
| Power | Yes | On or Off. |
Note: This controls the screen panel. The player device stays connected either way, so the screen still receives content while the panel is off.
Find or Disconnect Your Connection
The connection is stored as an API key on your account.
- Go to Settings > API Keys.
- Look for a key whose name starts with
Zapier:.
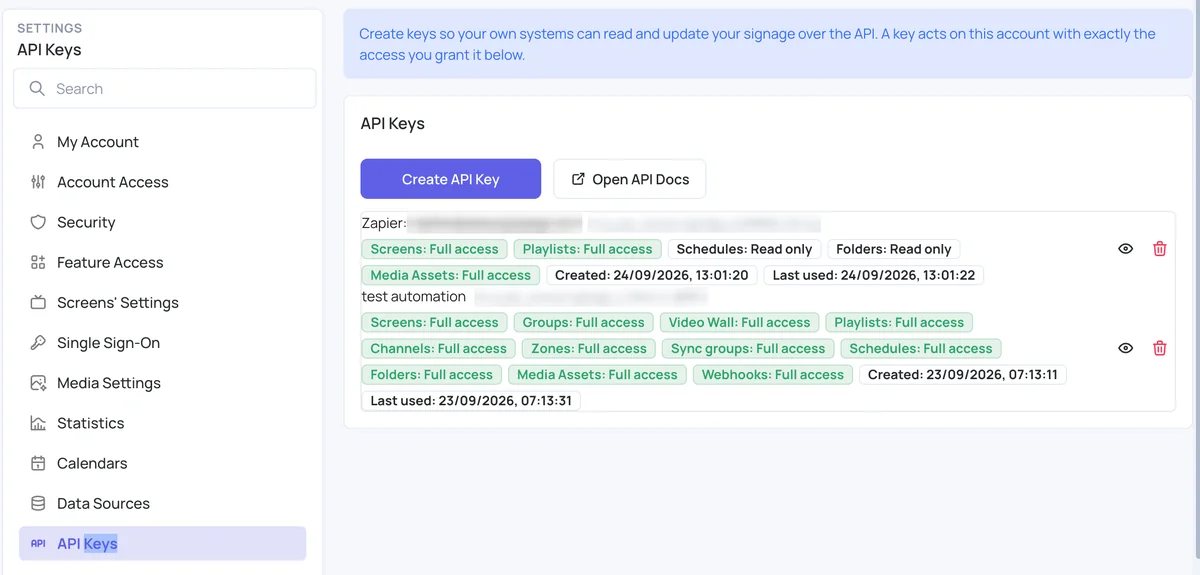
The key name also contains the email address of the person who approved the connection, so several people can connect Zapier to one shared account without replacing each other’s access. The labels beside it show exactly what you granted.
Tip: Last used tells you whether Zapier is reaching your account. If a Zap has run and this has not updated, the connection is not where the problem is.
To disconnect, delete the key.
Warning: Deleting the key stops every Zap using this connection, not just one. Zapier loses access straight away, and the key cannot be restored. You would have to create the connection again and repoint each Zap at it.
Key permissions cannot be edited after the key is created. To change what Zapier can access, delete the key, then create the connection again from App Connections in Zapier.
Limits
- All Zaps on one connection share one request budget of 60 requests per minute.
- An account can hold up to 10 API keys.
Troubleshoot Zapier
“EasySignage refused this request. Reconnect your EasySignage account in Zapier.”
The key behind the connection no longer works. Check under Settings > API Keys that a key starting with
Zapier:still exists, and that your plan still includes API access. Then reconnect from App Connections in Zapier.“EasySignage is rate-limiting this connection.”
Too many steps ran in one minute across every Zap on this connection. Zapier retries on its own. If it keeps happening, spread the Zaps out or reduce how often they run.
“EasySignage rejected the input for this step. One of the fields is not in an accepted format.”
A field is receiving something other than what it expects, usually because it is mapped to the wrong value from an earlier step. Check any field holding an ID or a tag.
“EasySignage could not find that record.”
The item was deleted, or it belongs to a different account from the one this connection uses.
“Nothing was published, because no display matched.”
No screen carries the tag you targeted, or no screen is assigned the content source you chose. Check the tag on your screens, remembering that tags are stored in lower case.
“That media item is not in a state this step can change.”
The item is already enabled, already disabled, or still processing. Address it by tag instead, which skips items that are already in the state you asked for.
“That feature is not enabled on this EasySignage plan.”
The step used something your plan does not include. Check your plan on the pricing page , or contact support with the name of the step that failed.
“The EasySignage account has reached its API key limit.”
An account can hold up to 10 API keys. Remove one you no longer use under Settings > API Keys, then create the connection again in Zapier.