This guide provides step-by-step instructions for installing and configuring the EasySignage player on a Raspberry Pi, including how to download the software, flash the image, and set up automatic startup.
Supported Raspberry Pi Players
- Raspberry Pi 5
- Raspberry Pi 4
- Raspberry Pi 4 Model B
- Raspberry Pi 3 Model A+
- Raspberry Pi 3 Model B+
How to Install EasySignage on Raspberry Pi
You can set up EasySignage on your Raspberry Pi using one of two installation methods, depending on your needs:
Option 1: Flash EasySignage Custom Android 15 Image
This is the recommended and easiest way. This image is optimized for Raspberry Pi 4 and 5, comes with the EasySignage app pre-installed, and ensures maximum performance and stability.
Option 2: Install EasySignage on Raspberry Pi OS
For users who prefer to keep Raspberry Pi OS, you can install EasySignage directly.
Choose the method that best fits your setup and follow the step-by-step guide below.
Option 1: Use EasySignage Custom Android Image
Using the EasySignage Custom Android Image is highly recommended for the best performance and stability.
Why use the custom image?
- Better performance
- Custom OS locked down to the EasySignage App
- EasySignage App pre-installed
- Full support for all EasySignage features
- Robust and easy to install, supporting both Raspberry Pi 5 and Raspberry Pi 4
1. Download the Image
Download the image file for Raspberry 4: rpi4-aosp15-ez-v1.img.zip
Download the image file for Raspberry 5: rpi5-aosp15-ez-v1.img.zip
2. Flash the Image to an SD Card
Insert a microSD card (32GB or larger recommended) into your computer.
Download the Raspberry Pi Imager from raspberrypi.com/software and run the installer.
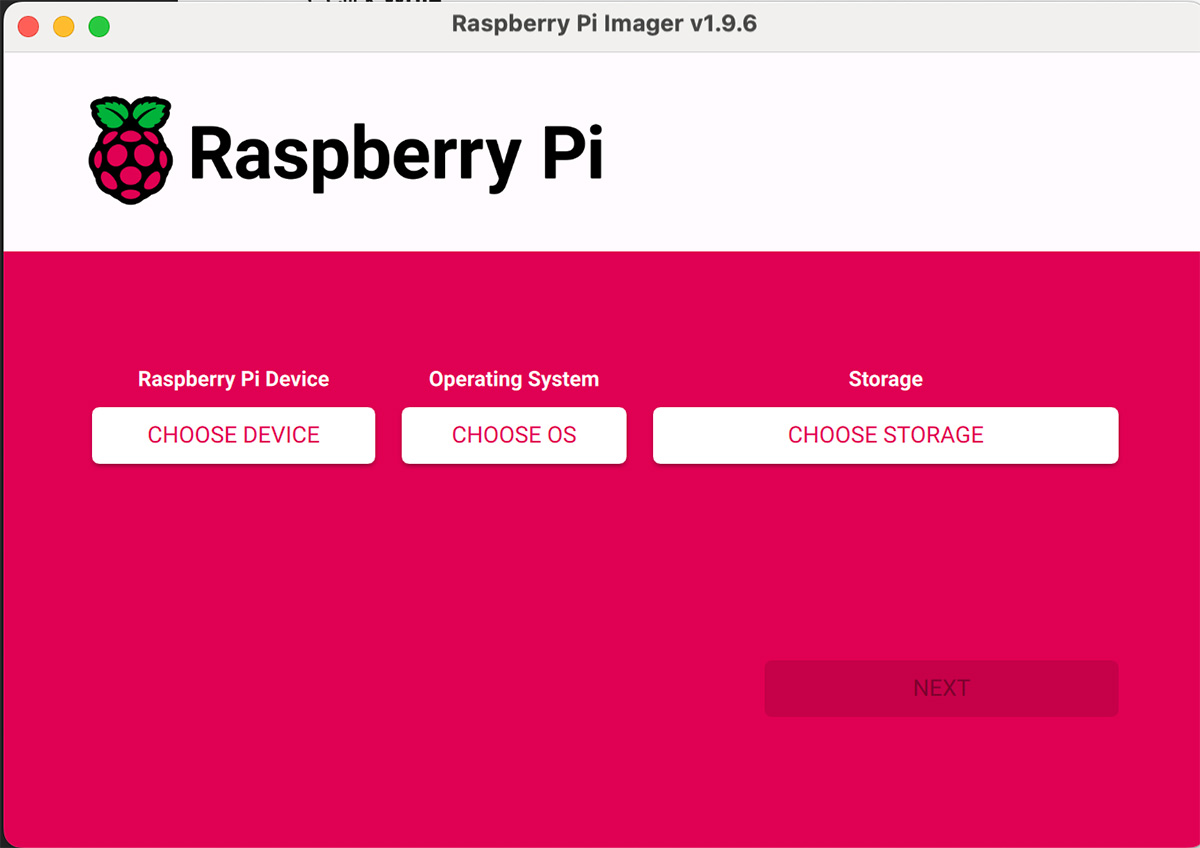
Open Raspberry Pi Imager:
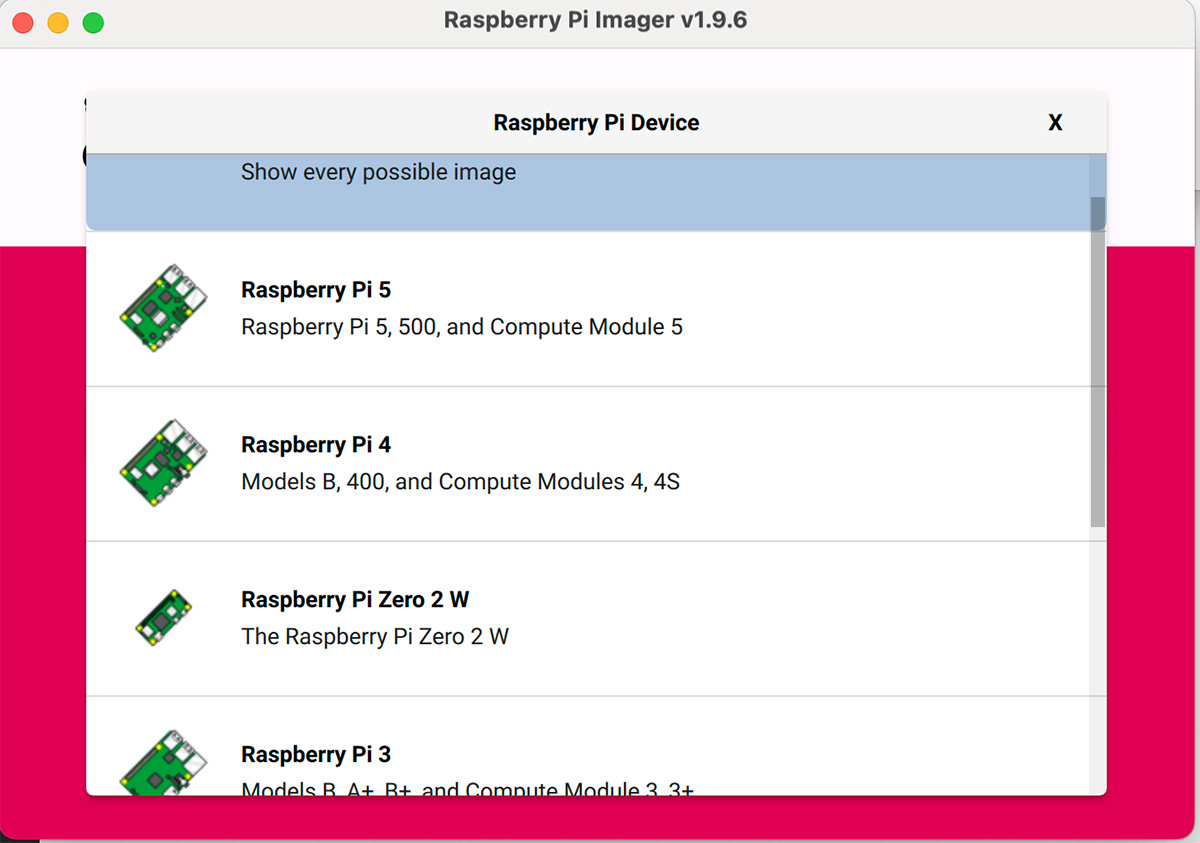
- Click Choose Device
- Select your Raspberry Pi model from the list.
- Click Choose OS → Use Custom
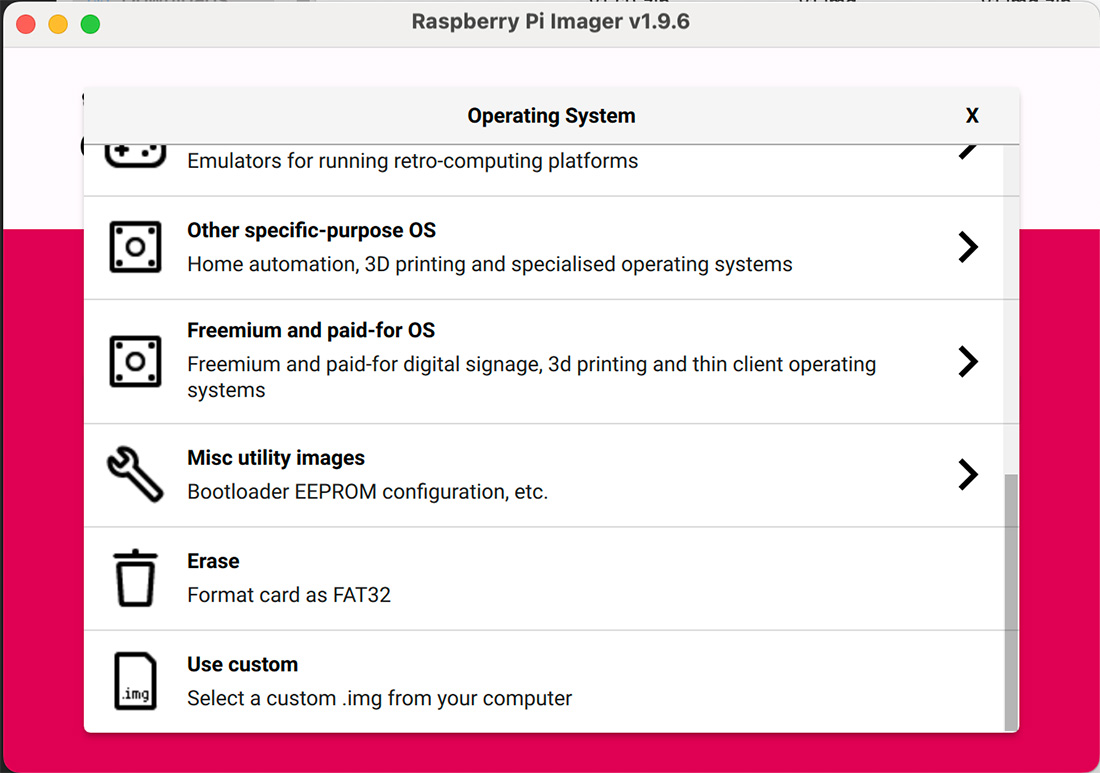
select rpi5-aosp15-ez-v1.img.zip (for Raspberry Pi 5).
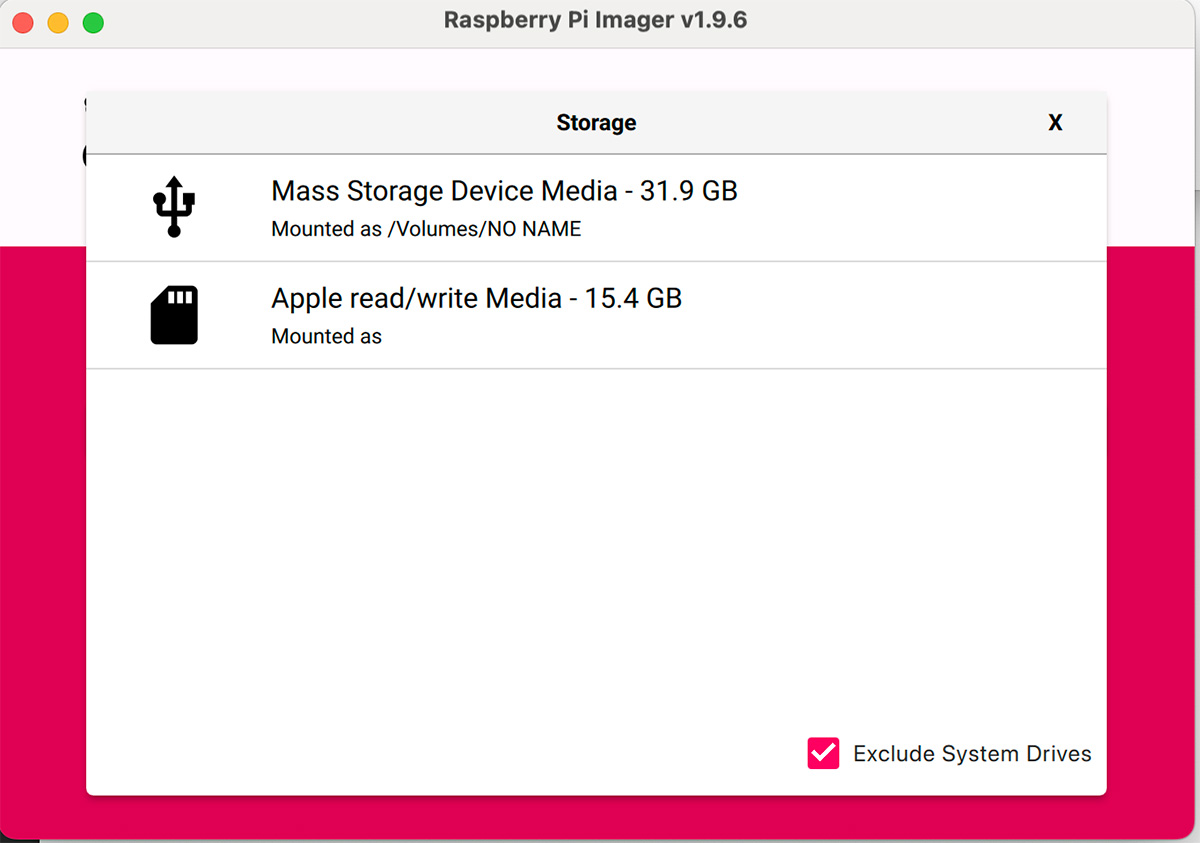
Click Choose Storage → select your SD card.
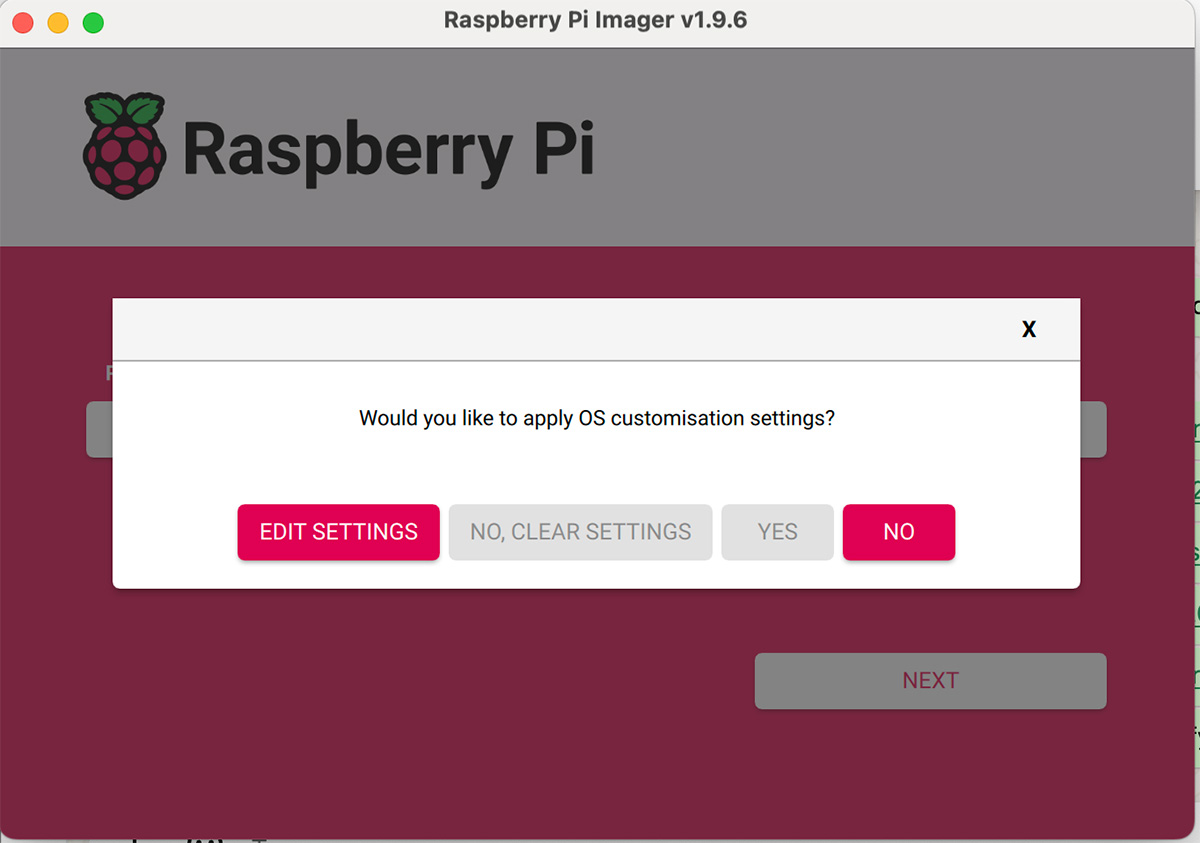
- Click Next → In a popup, Imager will ask you to apply OS customisation. Click NO button to skip.
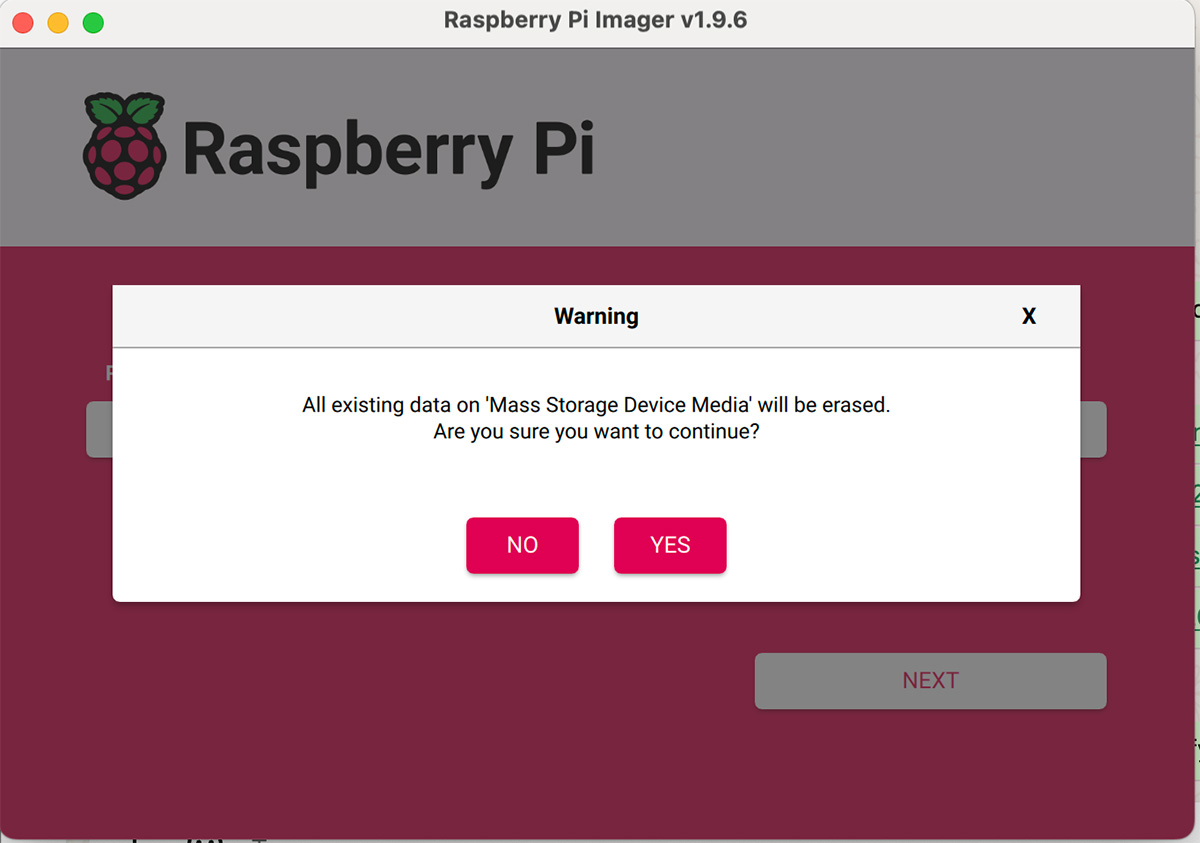
- Respond YES to the popup “Are you sure you want to continue?”.
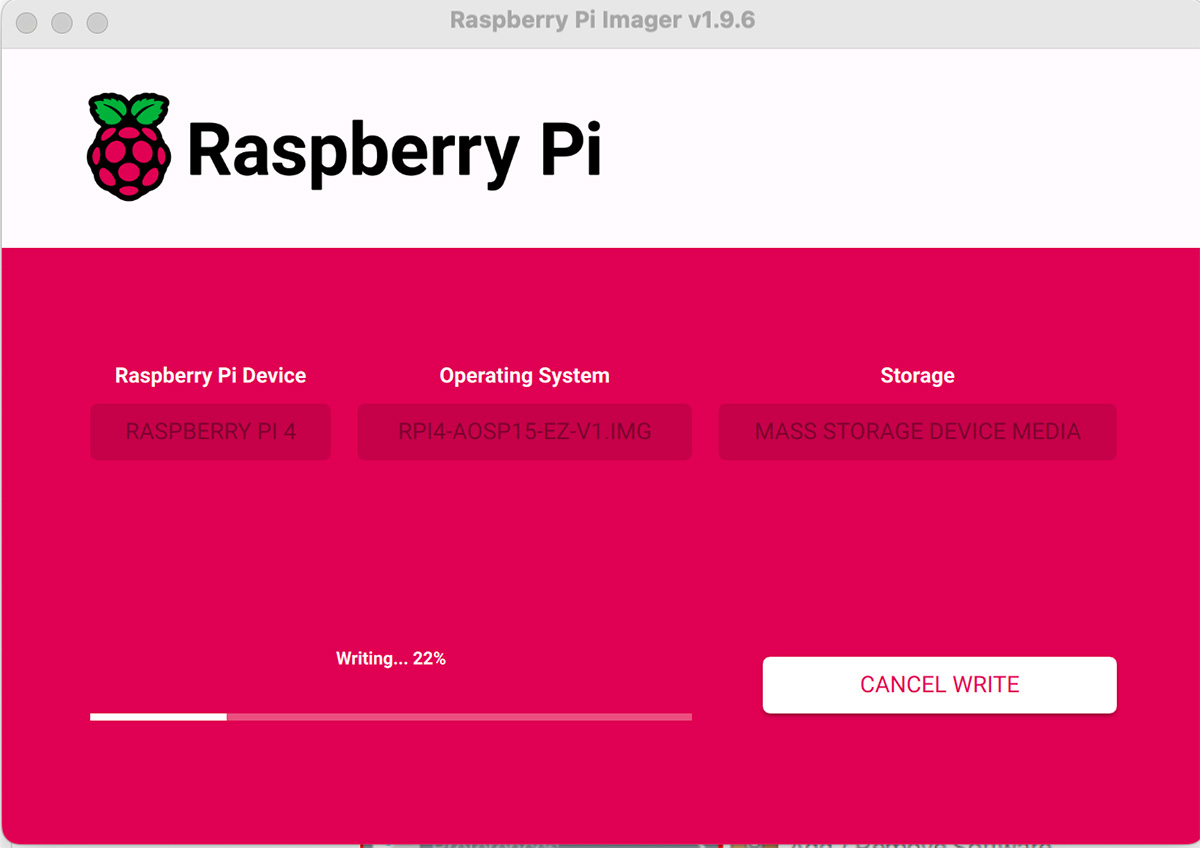
- Click Write when an admin prompt ask for permission to allow the Imager to read and write to your SD card. Wait until the flashing is complete, this could take a few minutes.
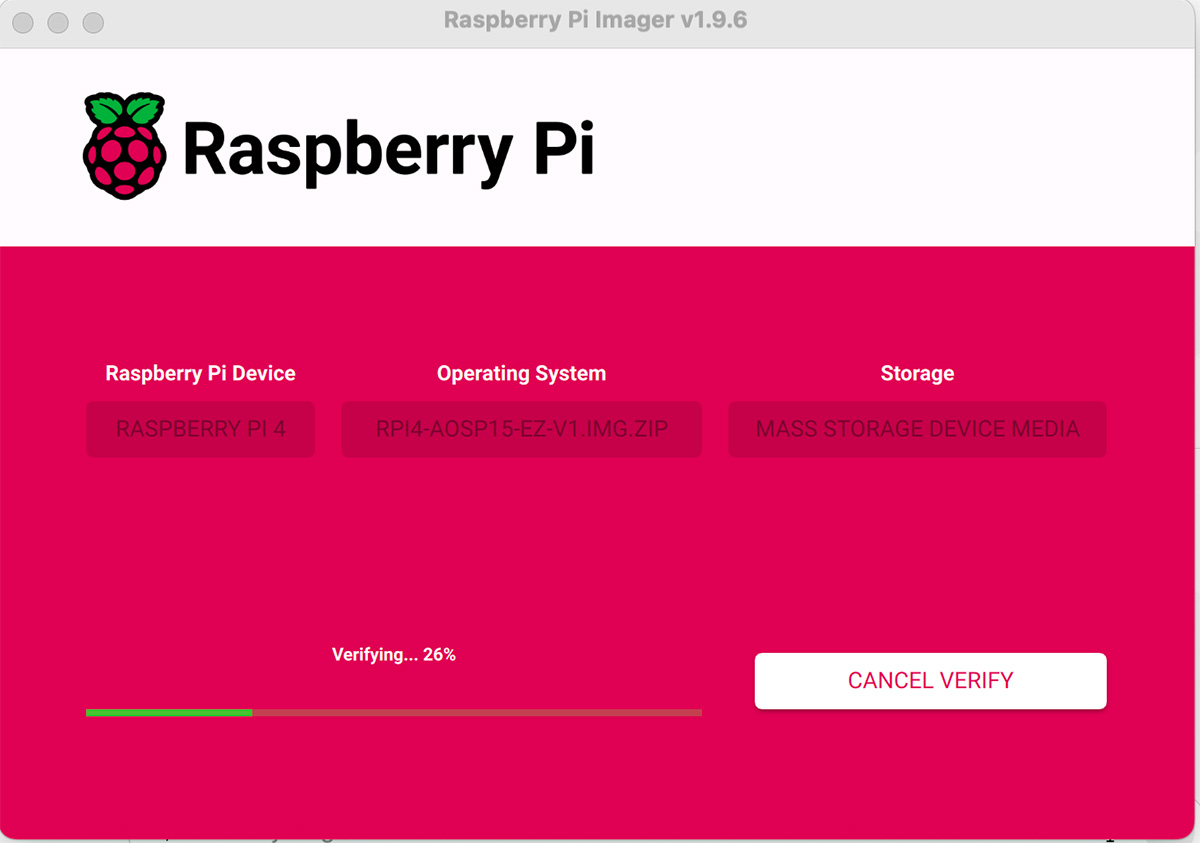
- Click Cancel Verify to skip the verification process.
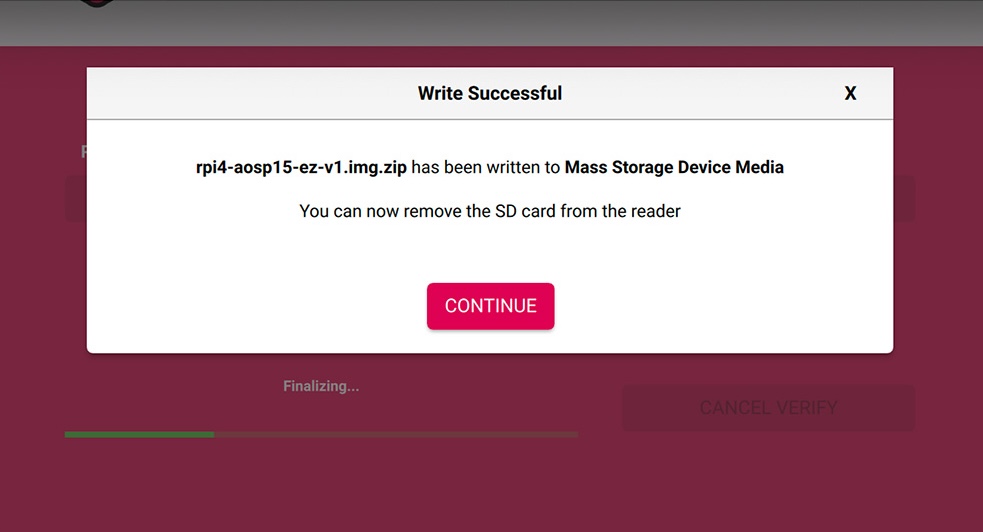
- When you see the “Write Successful” popup, your image has been completely written. You’re now ready to boot a Raspberry Pi from the SD card!
3. Boot the Raspberry Pi
- Insert the microSD card into your Raspberry Pi.
- Connect power, HDMI display, and optional USB keyboard/mouse.
- The device will boot into EasySignage Android 15.
Connecting to Wi-Fi (Open Android Settings)
Option A: Using a Keyboard
- Plug in a USB keyboard.
- Press ALT + M.
- Enter the default password: 1122.
- Select Open Settings.
- Go to Network & Internet > Wi-Fi.
- Connect to your Wi-Fi network.
- Restart the player once connected.
Option B: Using a Mouse
- Connect a USB mouse.
- Long left-click on the top-left corner of the screen for 5 seconds.
- Enter the default password: 1122.
- Select Open Settings.
- Go to Network & Internet > Wi-Fi.
- Connect to your Wi-Fi network.
- Restart the player once connected.
That’s it! Your Raspberry Pi is now running EasySignage Android 15 and ready to use.
Option 2: Install EasySignage on Raspberry Pi OS
Pre Installation steps
Download and install Raspberry Pi OS with desktop on your Raspberry Pi
Check the below link for more information on how to install Raspberry Pi OS on your device.
Make sure Chromium browser is installed:
Disable Screen Blanking:
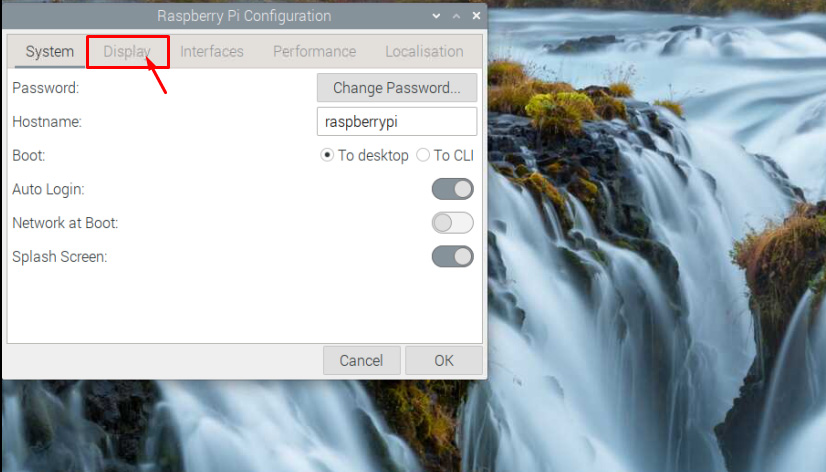
Step 1: On the main Raspberry Pi menu, click on Raspberry Pi Configuration under Preferences

Step 2: Click to the “Display”.
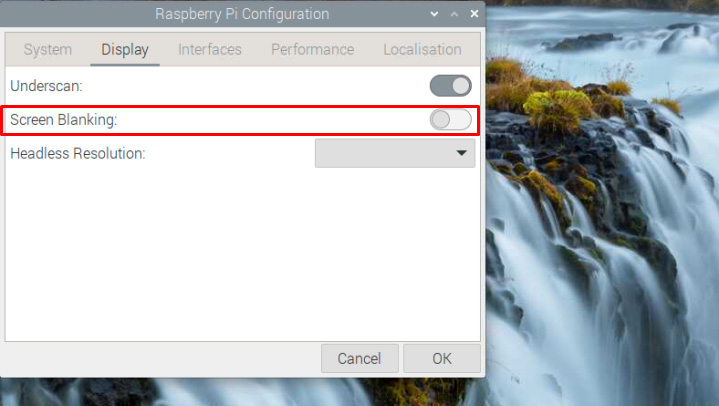
Step 3: Disable the “Screen Blanking”
Installation steps
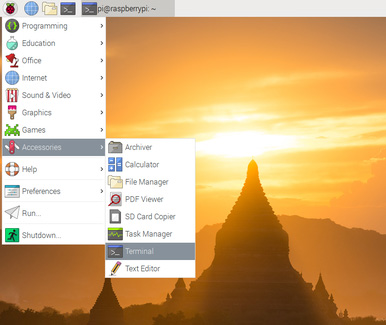
Step 1: Open Terminal as the below:
Step 2: Copy paste the below script into the terminal:
For Raspberry Pi OS (64-bit):
/bin/bash -c "$(curl -fsSL https://appds.io/rpi64.sh)"For Raspberry Pi OS (32-bit):
/bin/bash -c "$(curl -fsSL https://appds.io/rpi32.sh)"This script will create a folder under your home directory called “digital-signage” and download the player binary, then set up a startup script to start the app on boot time.
Step 3: Restart your device by writing reboot in the terminal
reboot
Fix Starting EasySignage on the latest Raspberry Pi OS
The latest operating system is configured with the Wayland desktop manager which is causing issues when starting the application in fullscreen mode. To solve the issue, switch from the Wayland desktop manager to X11.
Follow the below steps:
- Open terminal and run the below command
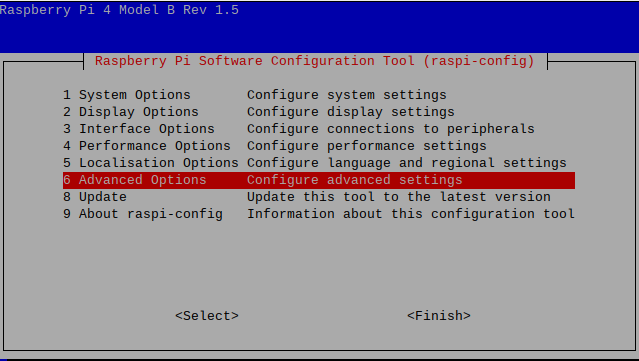
sudo raspi-config
- Navigate to: 6 Advanced Options
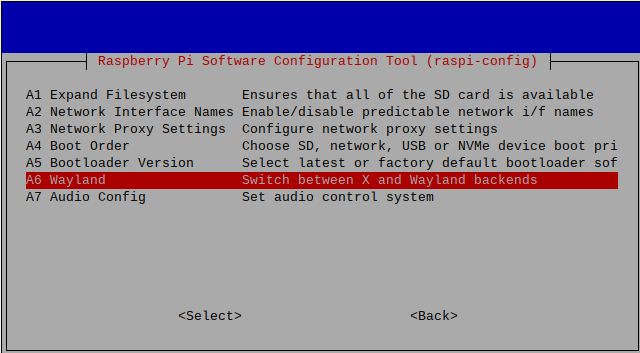
- Choose : A6 Wayland
- Choose : W1 X11
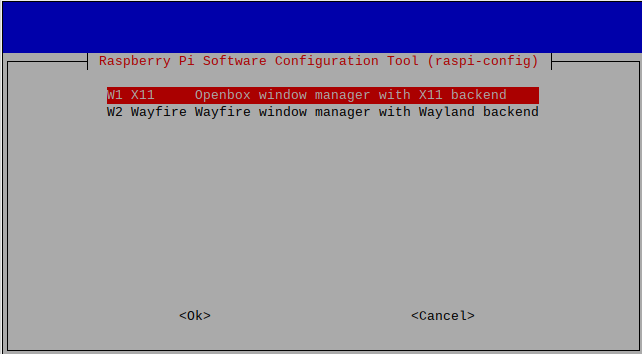
Press Ok. You should see the message “Openbox on X11 is active” press Ok.
Press finish, and you will be asked if you would like to reboot now; choose Yes.