This guide provides step-by-step instructions to install EasySignage on Amazon Signage Stick and configure settings.
How to Install EasySignage on Amazon Signage Stick
To install EasySignage as a CMS provider for your Amazon Signage Stick:
Step 1: Hardware Setup
- You can purchase an Amazon Signage Stick from the Amazon store using this link .
- Connect the Amazon Signage Stick to the power outlet using the USB cable.
- Plug the Stick into your screen’s HDMI port using the HDMI cable
- Turn on your TV and switch to the correct HDMI input
Step 2: Connect to WiFi
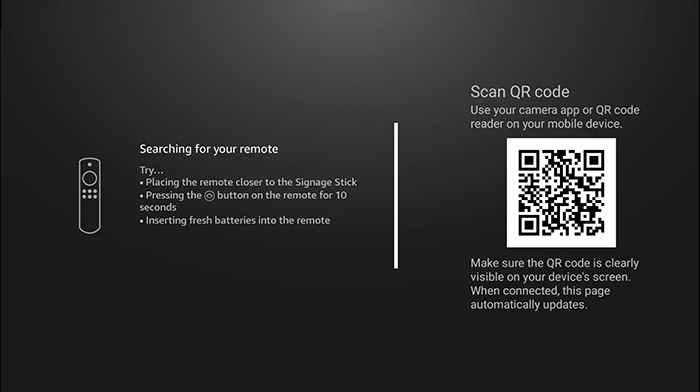
- To pair your remote, press and hold the Home button until the “Press Play” button appears on the screen.
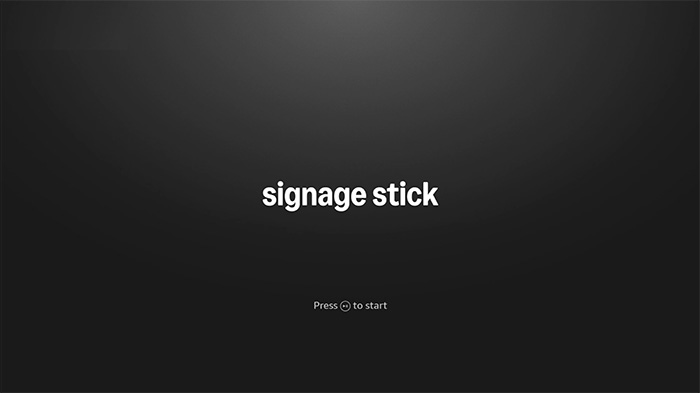
- Press the “Play” button to start
- Choose your preferred language
- The Amazon Signage Stick will scan for available networks
- Connect it to your Wi-Fi network
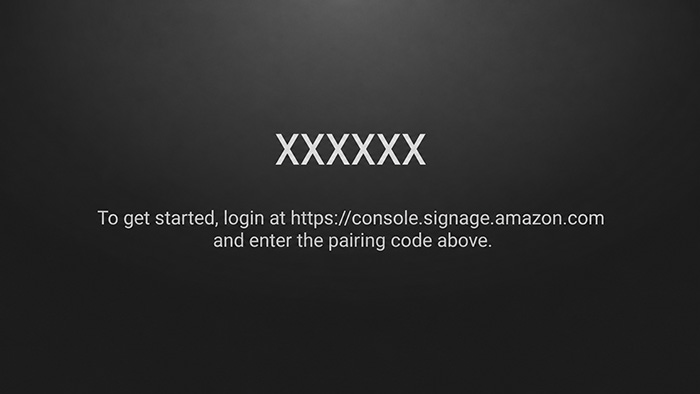
- On the screen, a unique pairing code will appear for your signage stick
Step 3: Configuration
Amazon provides a Signage Manager console to choose the preferred signage software (CMS) for your device.
- Open the Amazon Signage Console from your laptop or desktop web browser
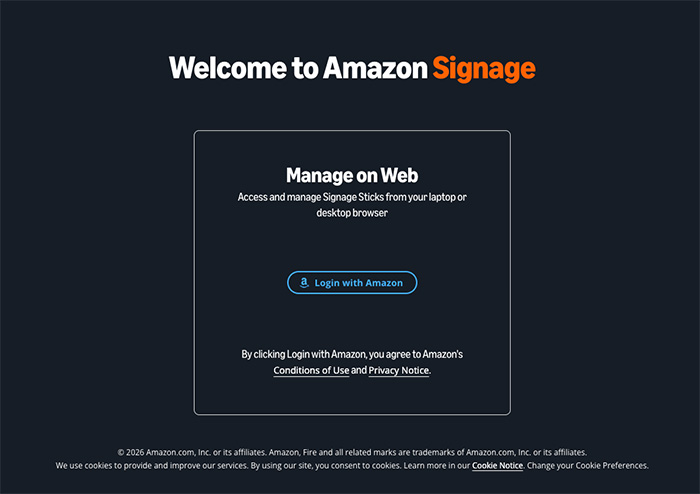
- Log in using your Amazon account credentials. If you don’t have an account, you will need to create one.
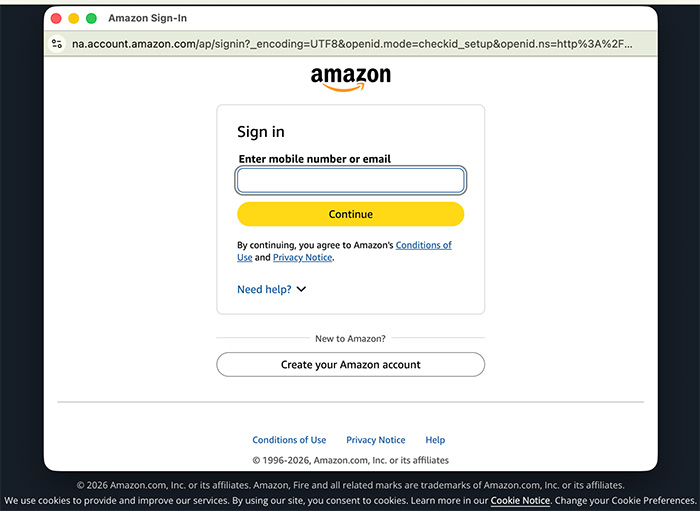
- Go to Signage Manager > Signage Sticks, then select Add Stick
The console guides you through three steps.
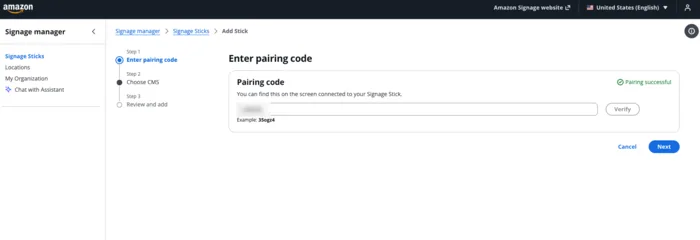
Enter the pairing code
- Enter the pairing code shown on your signage stick screen
- Select Verify. The console confirms Pairing successful
- Select Next
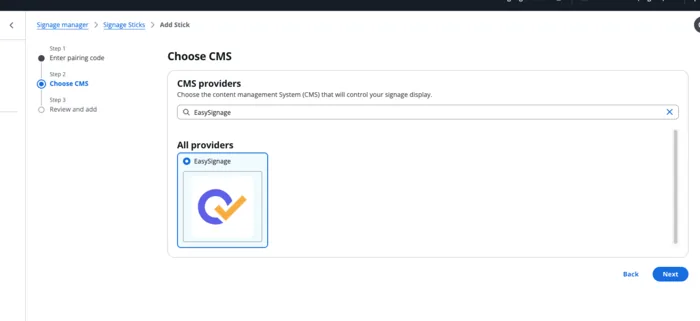
Choose CMS
- In the CMS providers search field, type
EasySignage - Under All providers, select EasySignage
- Select Next
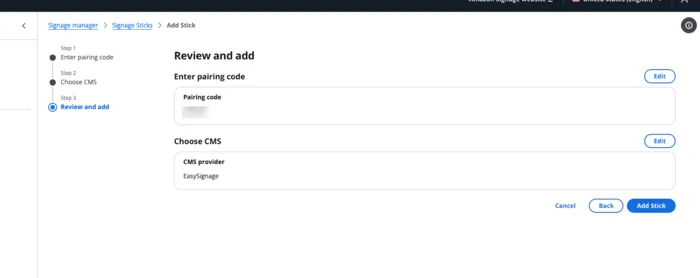
Review and add
- Check the Pairing code and CMS provider details
- Select Add Stick
The signage stick restarts, downloads EasySignage, and launches it automatically. When the installation finishes, a Screen ID appears on the screen.
Step 4: Register Your Screen
- Go to app.easysignage.com , navigate to Screens, and click Add Screen
- Enter the Screen ID to link the display to your EasySignage account
Manage Amazon Signage Stick
To review the signage sticks on your account, go to the Amazon Signage Console and select Signage Manager > Signage Sticks.
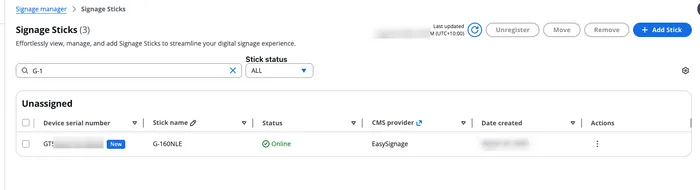
The list shows each stick’s device serial number, stick name, status, CMS provider, and date created. Use the search field and the Stick status filter to narrow the list. To rename a stick, select the edit icon next to Stick name.
Select one or more sticks to enable Unregister, Move, and Remove.
Add another signage stick
- From Signage Sticks, select Add Stick
- Enter the pairing code shown on your signage stick screen, then select Verify and Next
- Search for and select EasySignage as the CMS provider, then select Next
- Review the details and select Add Stick
The stick restarts and installs EasySignage automatically.