This guide provides step-by-step instructions to install EasySignage on ViewSonic commercial displays, configure settings, and set EasySignage as the default playback app.
Supported ViewSonic Displays Models
CDE14 series models:
CDE4314, CDE5014, CDE5514, CDE6514, CDE7514, CDE8614CDE31 series models:
CDE4331, CDE5531, CDE6531, CDE7531, CDE8631, CDE9831CDE30 series models:
CDE4330, CDE5530, CDE6530, CDE7530, CDE8630, CDE9830CDEUW Ultrawide Series
How to Install EasySignage on ViewSonic Displays
Step 1: Get the APK file
Insert a USB drive into a computer
Download the latest EasySignage APK from Download APK
Copy it to the main directory of your USB drive
Insert the USB drive into an available USB port on your ViewSonic display
Step 2: Install the EasySignage APK file
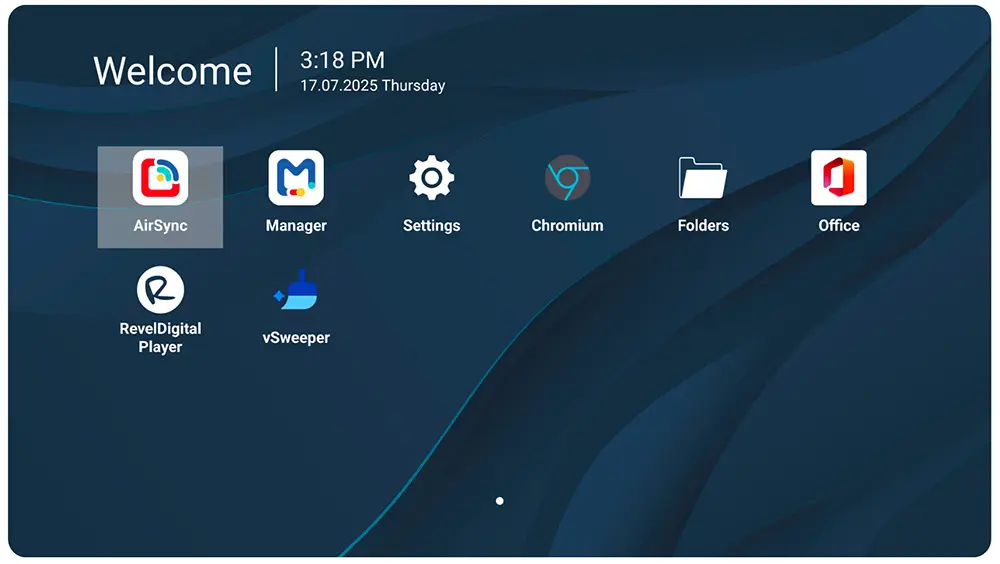
- On the remote control, press the Settings button
- Go to Device > Signage Display > Security
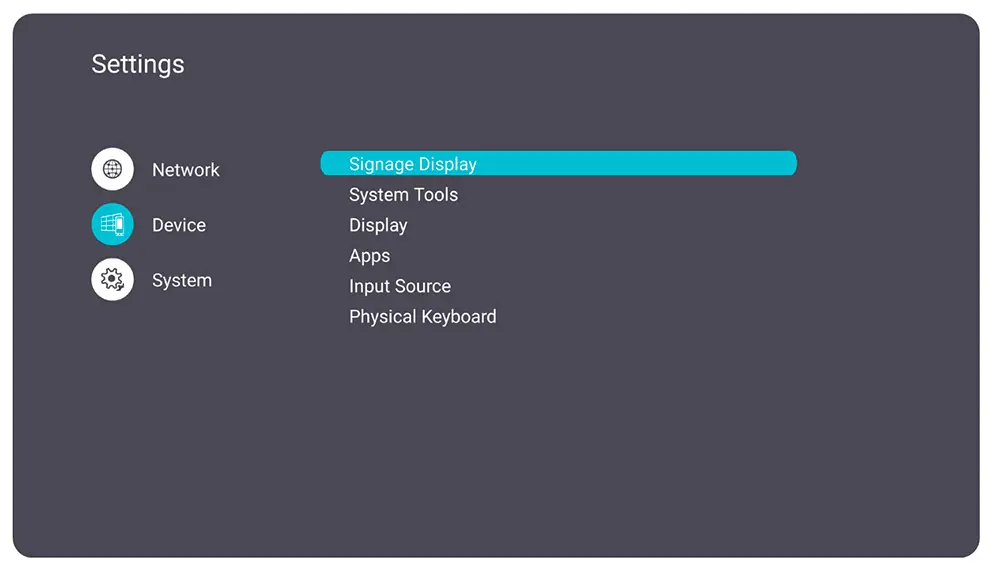
Under Security, enable External Storage (to allow USB devices)
Enable Install from Storage (to allow app installation from USB)
Enable Unknown Sources (to allow installation of .apk files)
Press the Home button on the remote control to return to the Home Screen
Open the Folders app
Select the USB storage device from the left panel
Navigate to and select the EasySignage APK file
Tap Next, then tap Install
Wait for the installation process to complete.
Step 3: Configure EasySignage Auto-Start
Auto start allows the digital signage software to launch automatically when the device powers on or restarts.
Press Settings on the remote to open the On-Screen Display Menu
Go to Advanced > Boot on Source > Custom, then select EasySignage
Next time the display powers on, EasySignage launches automatically
Step 4: Set the Timezone
Go to Settings > System > date and time
Make sure the date and time are correct.
Step 5: Register Your Screen
Restart the display
EasySignage will launch automatically and show a Screen ID
Go to app.easysignage.com , navigate to Screens, and click Add Screen
Enter the Screen ID to link the display to your account