To run EasySignage on a Hisense commercial display, install the EasySignage APK from a USB drive, then set EasySignage as the display’s home page so it opens every time the screen turns on.
Supported Hisense commercial display models
- Android 14: DM66GE, WH80GE, OP90FE
- Android 9: DP30FE
Note: Video playback limits depend on the display’s platform. For example, Android 9 models play H.264 video up to 3840 x 2160 at 30 Hz. Check the display’s user manual for its supported video formats.
Install EasySignage on a Hisense commercial display
Step 1: Copy the APK file to a USB drive
- Insert a USB drive into a computer.
- Download the latest EasySignage APK from Download APK.
- Copy the APK file to the USB drive.
- Insert the USB drive into any USB port on the Hisense display.
Step 2: Install the APK file
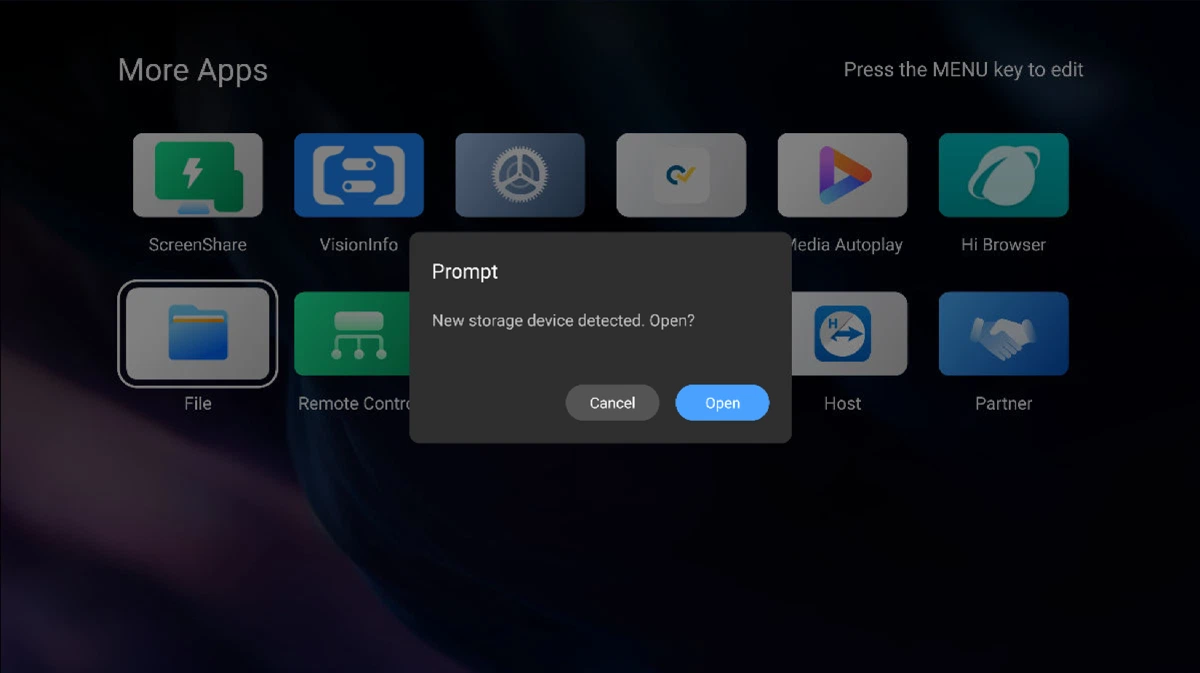
When the display shows New storage device detected. Open?, select Open.
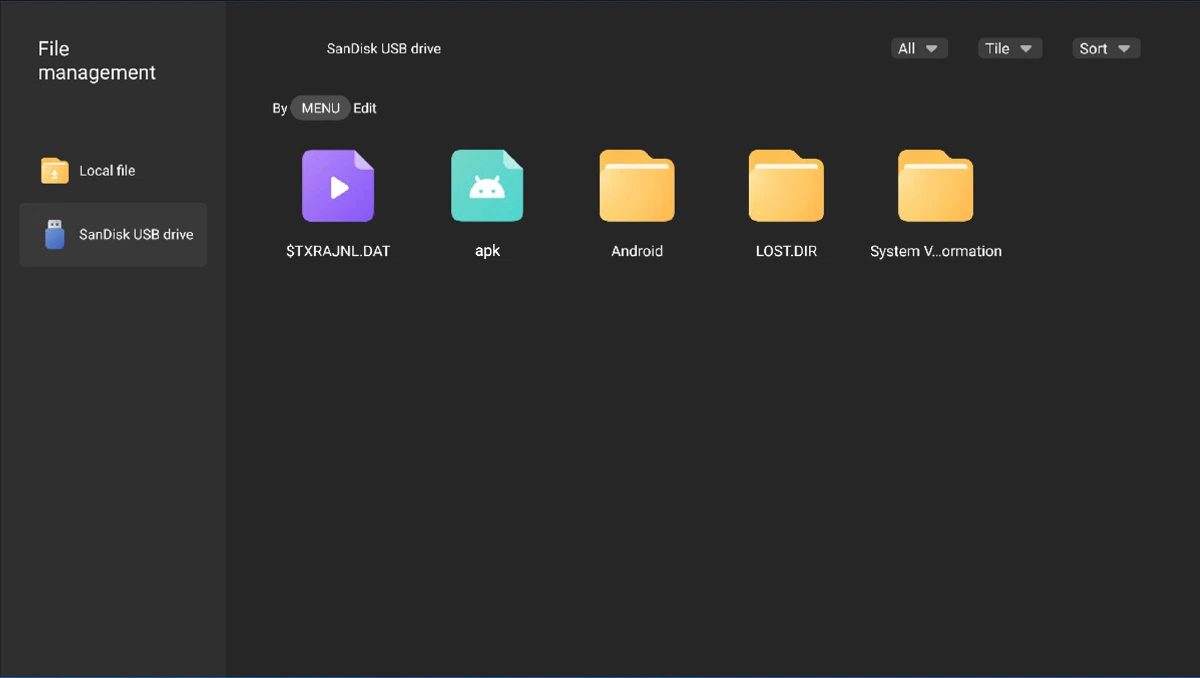
In File management, select the EasySignage APK file on the USB drive.
Follow the on-screen prompts to install the app.
If you closed the prompt, open the USB drive from the Home screen instead:
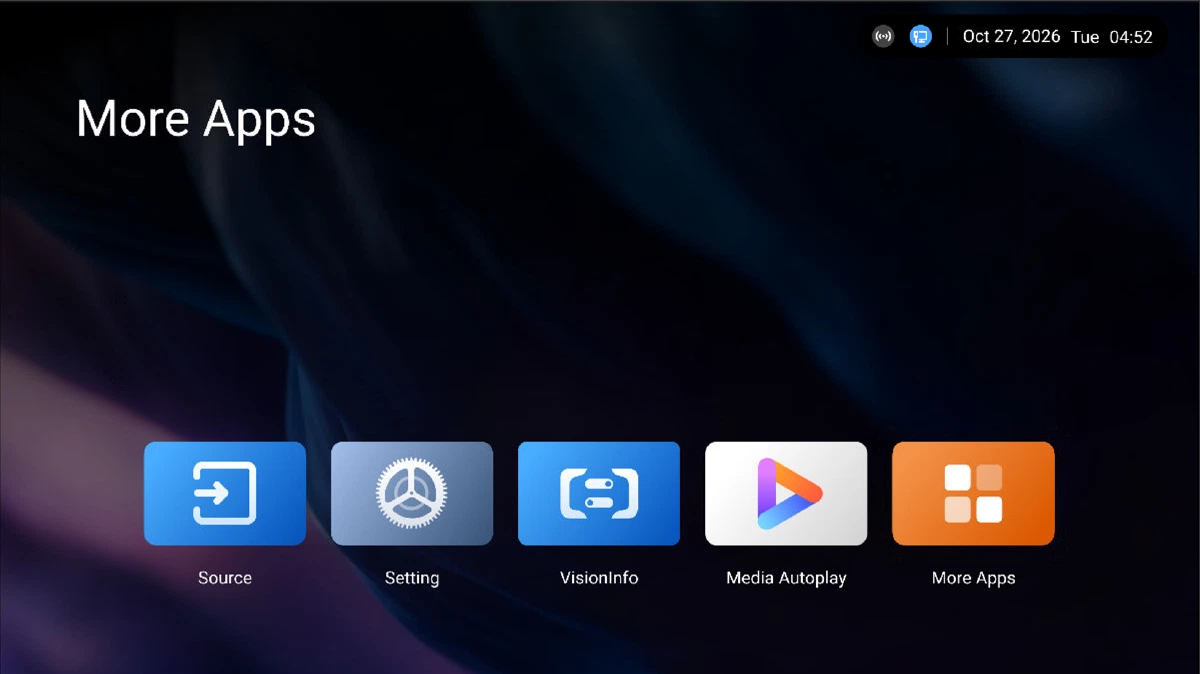
On the Home screen, select More Apps.
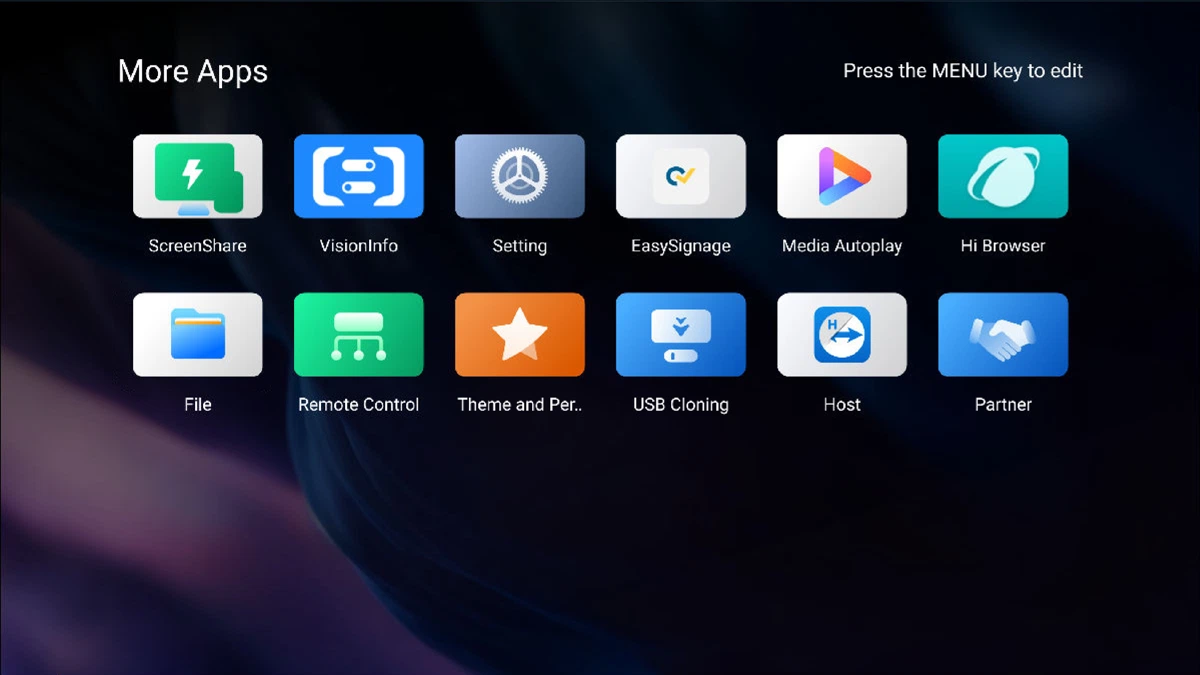
Select File.
Select your USB drive, then select the EasySignage APK file to install it.
Step 3: Open EasySignage when the display turns on
On the Home screen, select Setting.
Go to Signal management > Homepage setting.
Select EasySignage.
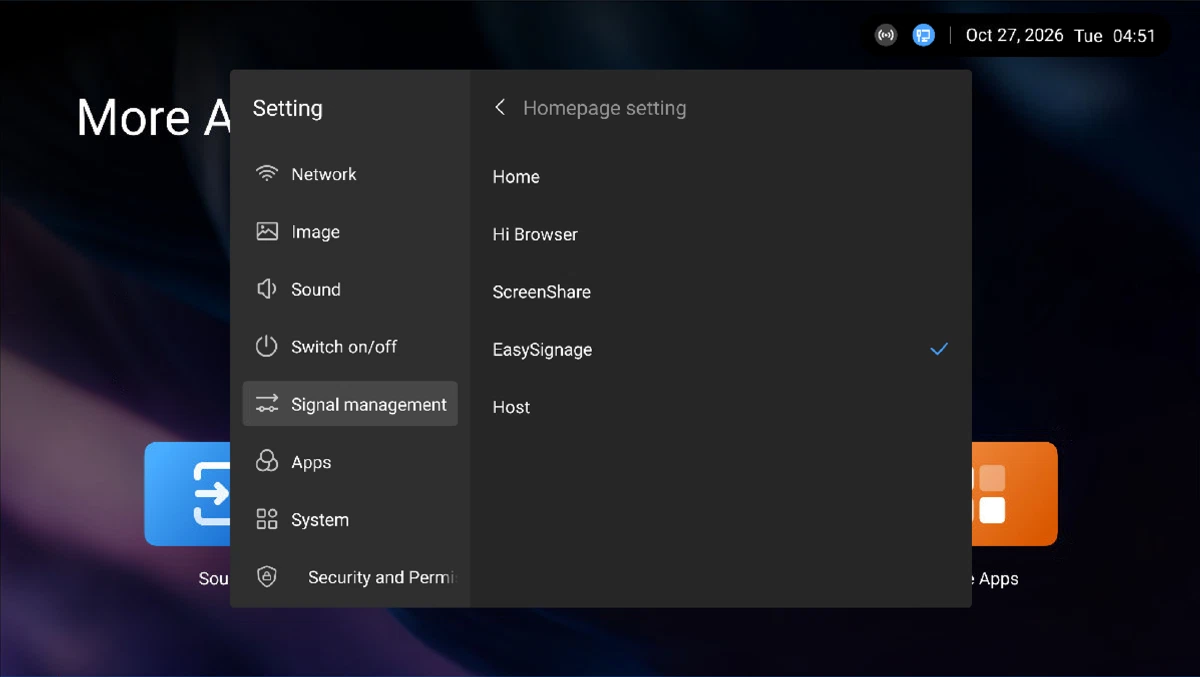
Go to Switch on/off > Boot channel.
Make sure Boot channel is set to Home.
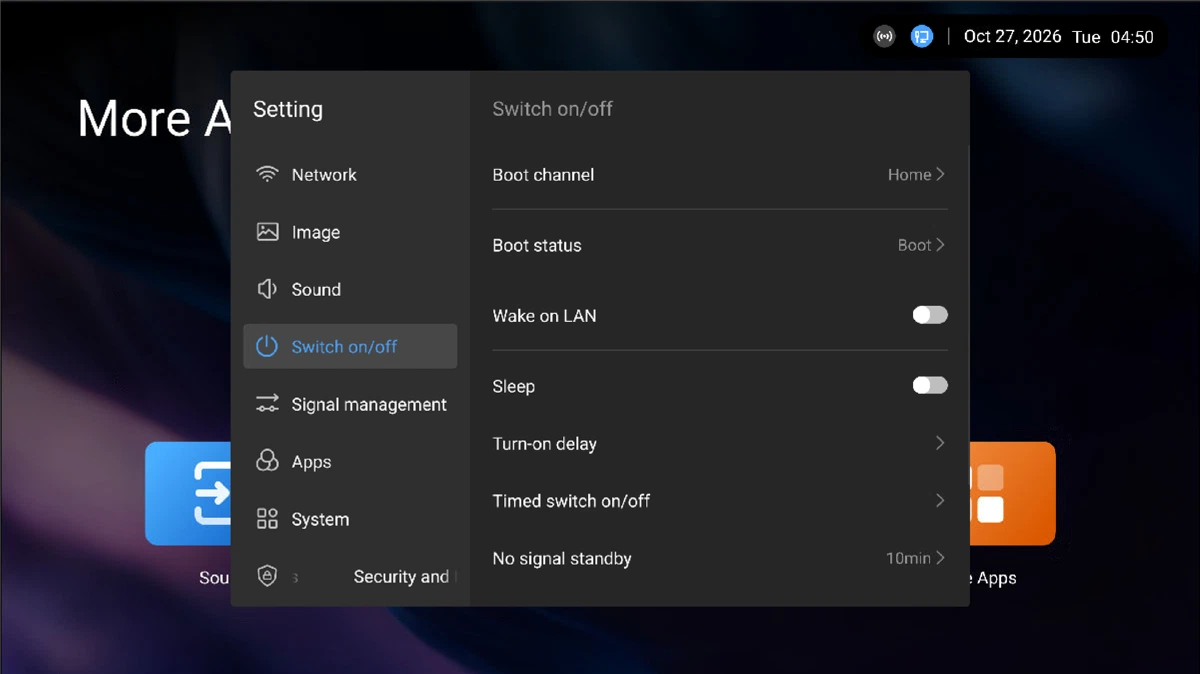
The next time the display turns on, it opens EasySignage.
Step 4: Register your screen
- Restart the display. EasySignage opens and shows a Screen ID.
- Go to app.easysignage.com, then go to Screens and select Add Screen.
- Enter the Screen ID to link the display to your account.
Related articles