Why/How to Put Twitter on My Big Screen?

We see digital signage all around us. From heading to the airport to driving down the road and working in the office, we interact with digital signage everywhere. But what is it? Basically, digital signage consists of a screen that displays any type of dynamic content.
The big screens you see in Times Square are a prime example of digital signage. Many companies use digital signage or big screens to broadcast social media apps. Twitter is one of the most popular social media apps that can be broadcasted on big screens.
But what are the advantages of it and how one can put Twitter on a big screen? All your questions will be answered in our piece. First, let’s explore the benefits of putting Twitter on a big screen.
Benefits of Putting Twitter on a Big Screen
Easily Update Content
You can easily update Twitter content on your big screen. As your big screen or digital signage is connected to cloud software, you can easily update it with just a few clicks. Your digital signage software will do all the heavy lifting for you.
See Updated Content on the Go
When your Twitter is up to date, you can easily see the updated content on the big screen. No need to take out your cell phone or log in to your Twitter account on your personal computer, since everything will be available on the big screen.
Engage People Around You
Putting your social media apps like Twitter on the big screen engages the people who are around you. They see your interests, hobbies, likes, and dislikes that allows them to engage with you more often.
Now let’s see how you can put Twitter on your big screen!
How To Put Twitter On Big Screen?
First, head over towards the EasySignage website easysignage.com and sign-up or log-in to your account. EasySignage provides the first screen for free.
On the dashboard, click on the “PLAYLISTS” option that would be located on the top side of your screen.

After that, you’ll be taken to the “PLAYLISTS” tab. There, click on the “+ADD” button that would be located on the top right side of your screen.

Then, you’ll see a pop-up that will prompt you to enter the name of the playlist. Enter the desired name and click on the “SAVE” button.

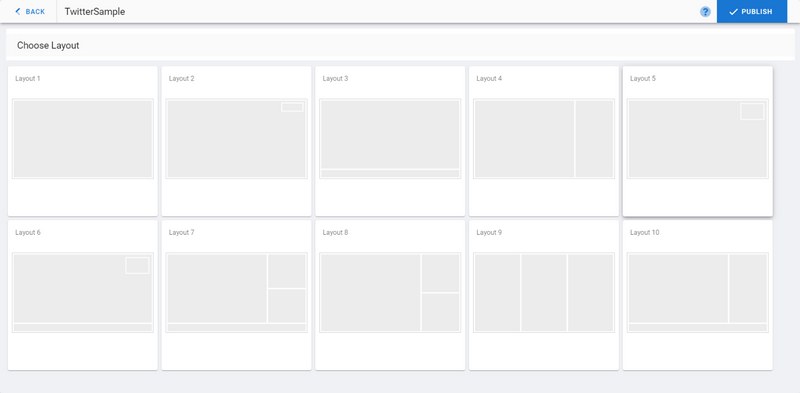
After that, you’ll be redirected to a new screen where you select a layout. Select a layout and then you’ll be taken to a new screen to manage a layer.
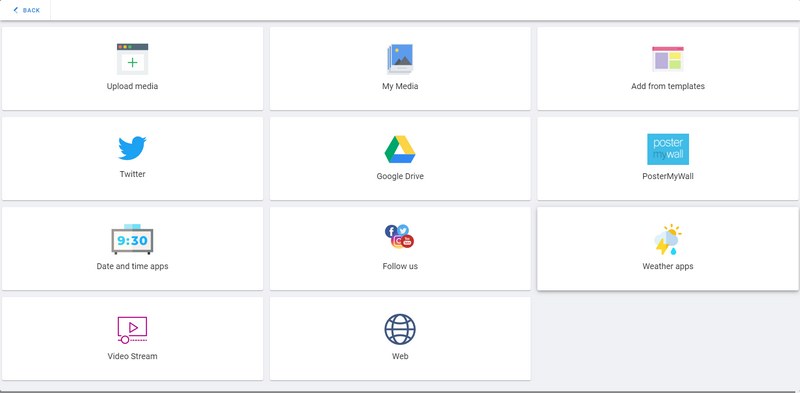
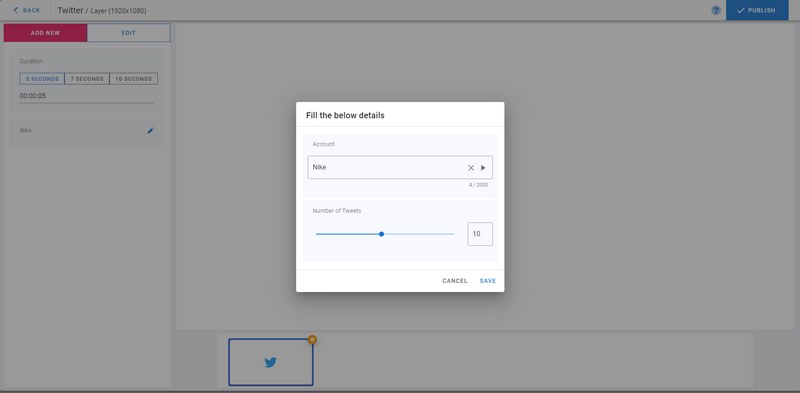
Click on a layer to manage its media. After that, click on the “Twitter” button. Then, you’ll be asked to fill the details like Account Name and Number of Tweets.
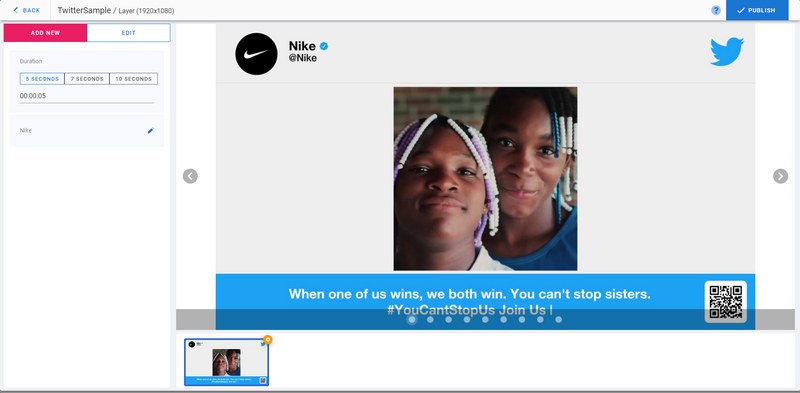
After entering the details, click on the “SAVE” button. Now, you’ll be able to see the preview of your layout.
After checking the layout, click on the “< BACK” button that would be located on the top-left corner of your screen.
Once you have returned to the dashboard, click on the “DISPLAYS” option located on the top-right side of your screen.
Assign the playlist you have just created or add a display if you dont have one.
For more information check out the below video:
https://help.easysignage.com/apps/digital-signage-twitter/
Start using Digital Signage today
Sign up today and get (forever free) digital signage, check our website https://easysignage.com.