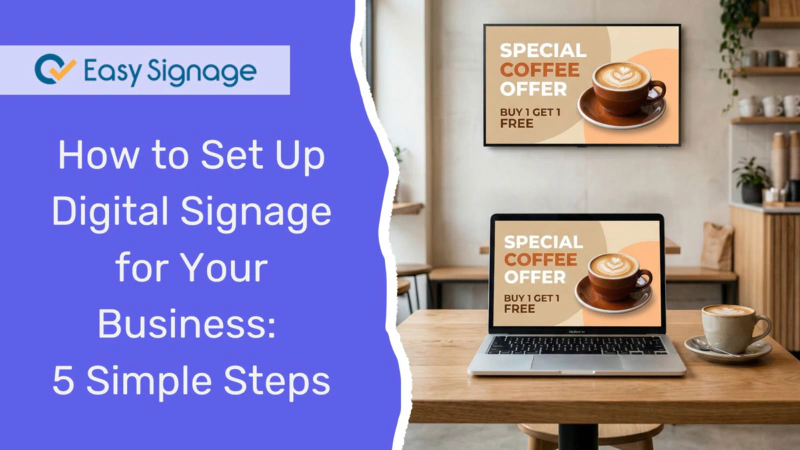
How to Set Up Digital Signage for Your Business: 5 Simple Steps
Still printing posters every week? It’s time to switch to digital signage, one of the fastest ways to modernise your business communication, allowing you to display dynamic content on screens and update it instantly from anywhere.
Setting up digital signage is easier than most people think. You don’t need a technical team or a big budget. In most cases, you can have your first screen up and running in under an hour.
This guide will walk you through the entire process, from hardware and software to launching your first screen.
What Is Digital Signage?
Digital signage is simply a system that uses screens to display content that you can manage, including promotions and advertisements, announcements, menus and pricing, social media feeds, videos, images, and more.
Instead of printing and replacing posters, you can update everything from your computer or phone in seconds. Unlike traditional signage, digital signage is controlled through a content management system (CMS), which allows for remote content updates in real time.
Businesses of all sizes can use this technology, such as restaurants, retail stores, gyms, offices, schools, and hotels.
What You Need to Set Up Digital Signage
To get started, you only need three components:
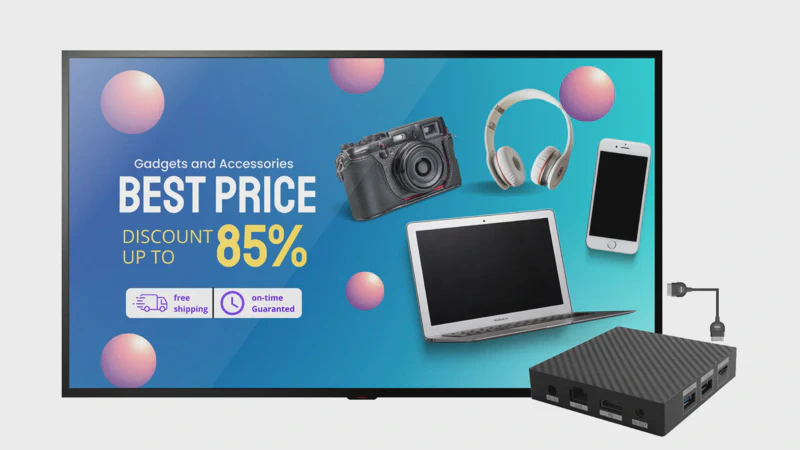
1. A Display Screen
This can be:
- A commercial digital signage display
- A Smart TV
- A standard TV with HDMI support
2. A Media Player
A media player is a small device that connects to your screen via HDMI and runs your signage software. Some TVs have this functionality built in.
Popular media player options include:
- Amazon Fire TV Stick
- Android TV Box
- Raspberry Pi
- Windows mini PC
- Chrome OS devices
- EasySignage Amlogic player
3. Digital Signage Software (CMS)
A digital signage content management system CMS allows you to:
- Create and design content
- Schedule what content plays and when
- Manage multiple screens remotely
Cloud-based platforms like EasySignage are commonly used because they are easy to set up and manage.
Step 1: Choose the Right Digital Signage Screen
Start by selecting a screen that fits your space and audience. Consider the following key factors:
Screen Size:
A 43”–55” screen works well for most small businesses. For large lobbies or retail areas, choose a bigger screen 65”+.Brightness:
Indoor screens should have good brightness (300–700 nits); outdoor screens need extra brightness and weatherproofing (1000+ nits).Orientation:
Landscape (horizontal) is the standard orientation; portrait (vertical) works great for menus, directories, and narrow spaces.
Tip: Commercial vs Consumer Displays
Look for a commercial-grade display instead of a regular consumer TV. Commercial displays are designed to run for longer operating hours without overheating.
Some displays compatible with EasySignage that do not require an external player include:
- Philips digital signage screens
- Samsung digital signage displays
- TCL Commercial Displays
- AG Neovo digital signage displays
- LG WebOS digital displays
- Google TV
Step 2: Select a Compatible Media Player
The media player powers your digital signage software. It acts as the “engine” behind your digital signage.
Comparison of common options:
| Device | Cost | Ease of Use | Best For | Performance |
|---|---|---|---|---|
| Fire TV Stick | $ | ★★★★★ Very Easy | Small businesses, single screens | Good |
| Android TV Box | $ | ★★★★☆ Easy | Flexible & multi-purpose setups | Good |
| Raspberry Pi | $ | ★★★☆☆ Technical | Custom & DIY deployments | Moderate |
| Windows Mini PC | $$$ | ★★☆☆☆ Advanced | Complex, high-demand deployments | Excellent |
| EasySignage Player | $$ | ★★★★★ Plug & Play | Turnkey signage setups | Excellent |
Many digital signage platforms, including EasySignage, support all of these devices.
💡 Tip: If you’re using a supported display, you do not need a separate media player.
Step 3: Choose Digital Signage Software
Your software, also called a Content Management System (CMS), is where you do everything: design your content, schedule when it plays, and manage all your screens.
What to look for in a digital signage CMS:
- Easy-to-use drag-and-drop content editor
- Ready-made templates so you don’t start from scratch
- Scheduling and automation tools to show the right content at the right time
- Remote management capabilities to update screens from anywhere
- Support for the devices you’re using
- App integrations to connect with the tools you already use
Most modern businesses choose cloud-based digital signage software because it allows remote updates and scalability. EasySignage is a cloud-based digital signage platform that meets these requirements. It’s free to get started with one screen and no credit card required.
👉 Start for free at EasySignage
Step 4: Create High-Impact Digital Signage Content
Now the fun part: creating what shows on your screen. Your content is what grabs attention, informs customers, and drives action, so keep it clear, engaging, and purposeful. It determines whether your screen captures attention or gets ignored.
Content ideas for small businesses:
Start with simple, high-impact content:
- Promotions and special offers
- Opening hours and contact details
- Product showcases or featured items
- Social media feeds
- Customer reviews or testimonials
- Event announcements
- Team or staff introductions
Keep these design tips in mind:
- Make sure your content is easy to see and quick to understand:
- Use large, easy-to-read fonts (visible from a distance)
- Stick to 2–3 brand colours
- Keep text short and direct. People glance at screens; they don’t read them
- Use high-quality images or videos for more impact
- Update your content regularly to keep it fresh
Create content quickly with EasySignage:
EasySignage comes with many ready-made templates that you can customise in minutes, along with apps that enable you to design and create your content effortlessly.
Step 5: Install and Launch Your Digital Signage
You’re one step away from getting your screen up and running. Here’s how to launch your first display:
1. Set up your screen
- Mount or position your screen where it’s clearly visible to your audience
- Choose a location with good lighting and minimal glare
2. Connect your hardware
- Plug in your media player via HDMI (or use a supported Smart TV)
- Power on all devices.
3. Connect to the internet
- Connect to Wi-Fi or Ethernet for a stable internet connection
4. Install your signage app
- Install the digital signage app on your media player or display
- Pair your screen using a code
5. Publish content
- Assign your content or playlist to the screen from your dashboard
- Hit publish — your content will appear on screen instantly
That’s it. Your screen is now live and ready to engage your audience.

Quick Setup Checklist
✔ Screen
✔ Media player
✔ CMS account
✔ Internet connection
✔ Content ready
How to Manage Your Digital Signage After Launch
Setting up your screen is just the beginning. Ongoing management is what keeps your content relevant, engaging, and effective.
Here’s how to keep it working well:
- Schedule content by time of day: show breakfast deals in the morning, dinner specials in the evening
- Update content remotely: change what’s on screen from your laptop or phone, wherever you are
- Use playlists to organise content: group related content together and rotate it automatically
- Monitor screen performance: EasySignage lets you see which screens are online and what’s playing at any time
Common Digital Signage Mistakes to Avoid
- Overloading screens with too much text
- Using low-quality images
- Not updating content regularly
- Poor screen placement
- Ignoring scheduling features
Digital Signage Costs: What to Expect
Here’s a rough breakdown:
- Screen: $300 – $2,000+
- Media player: $50 – $300
- Software: Free – $30/month per screen
💡 Many platforms offer a free plan for a single screen, making it easy to get started.
Read more on How Much Does Digital Signage Cost - Complete Guide
Frequently Asked Questions
Do you need the internet for digital signage?
Yes, most cloud-based systems need an internet connection to update content. However, many platforms support offline playback like EasySignage; your content continues to play on screens even if the connection drops temporarily.
How many screens can I manage?
With EasySignage, you can manage one screen for free and scale up to as many screens as you need with paid plans.
Can I use my existing TV?
Yes, in most cases. If your TV has an HDMI port, you can connect a media player to it. If you have a compatible screen (Samsung, LG, or Android TV), you may not need a separate player at all. Instead, you can directly install the signage app on the screen.
How often should I update my content?
As a general rule, review your content at least once a month to keep it accurate and relevant. For promotions, events, or time-sensitive information, update your content immediately when changes happen.
For best results:
- Update high-traffic screens more frequently (weekly or bi-weekly)
- Refresh visuals regularly to keep attention and avoid “content fatigue”
- Align updates with campaigns, seasons, or business goals
Ready to Set Up Digital Signage?
Digital signage doesn’t have to be complicated or expensive. With the right software and setup, you can have your first screen live today and start effectively communicating with your customers and team.
EasySignage is free to start. No credit card needed. One screen is on us.
👉 Launch your first digital signage screen today — start free with EasySignage!