How to DIY an Affordable and Easy Digital Signage Guide
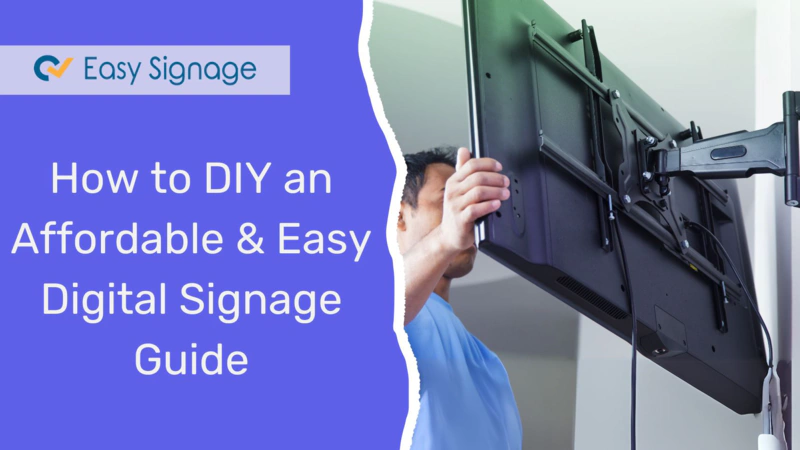
Many people assume that digital signage solutions are expensive and complicated. But that’s not true! Digital signage is no longer a luxury reserved for large businesses. Thanks to DIY digital signage and with some know-how and the right tools, even small businesses can create effective, professional digital signage displays at a much lower cost.
Here’s a simple guide to affordable DIY digital signage, highlighting EasySignage as the recommended software for your requirements.
Table of Contents
- What is DIY Digital Signage?
- Affordable Digital Signage Players
- How to DIY Digital Signage?
- What Equipment You Need for DIY Digital Signage
- How to DIY Digital Signage with EasySignage in 5 Simple Steps
- FAQs for DIY Digital Signage
What is DIY Digital Signage?
DIY Digital Signage, or Do-It-Yourself Digital Signage, is the process of setting up and managing your own digital signage system using low-cost hardware and software instead of expensive solutions. By using affordable hardware, paired with cost-effective or free software, you can design, display, and manage digital content like ads, announcements, or menus on screens.
It is popular among small businesses, schools, startups, and individuals because it offers flexibility, budget control, and significant cost savings compared to traditional digital signage options.
Affordable Digital Signage Players
Choosing the right digital signage player is the key to a cost-effective signage system. If your screen is not a smart display, you need to use a digital signage player. These are small devices that connect to your screen and display your signage content.
Here’s a list of some of the cheapest and most popular DIY digital signage players, perfect for budget-friendly projects:
1. Raspberry Pi Player
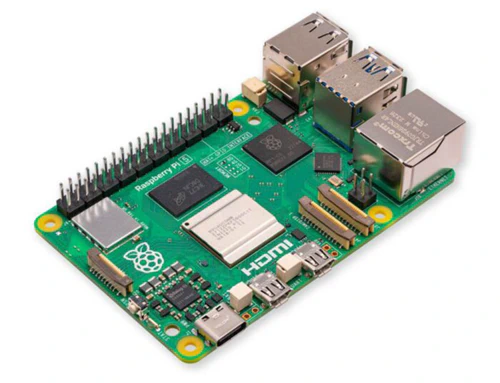
The Raspberry Pi 5 - 8GB model is an excellent choice for low-cost digital signage. It is the latest powerhouse in the Raspberry Pi lineup; a small, affordable computer that packs significant power for its size, making it ideal for DIY projects.
Price: At 80$ for 8GB RAM, 60$ for 4GB RAM, and 50$ for 2GB RAM, the Raspberry Pi 5 is perfect for tight budgets.
Performance: It features a Quad-Core ARM Cortex-A76 CPU for high-speed processing, 8GB RAM for high-quality media performance, and dual 4K HDMI outputs for smooth playback of HD content.
Compact and Energy Efficient: Its small size and low power consumption make it easy to install and operate anywhere.
Flexibility: Compatible with digital signage software like EasySignage for seamless integration and customisation.
HOW TO USE RASPBERRY PI AS A DIGITAL SIGNAGE PLAYER
2. Google Chromecast
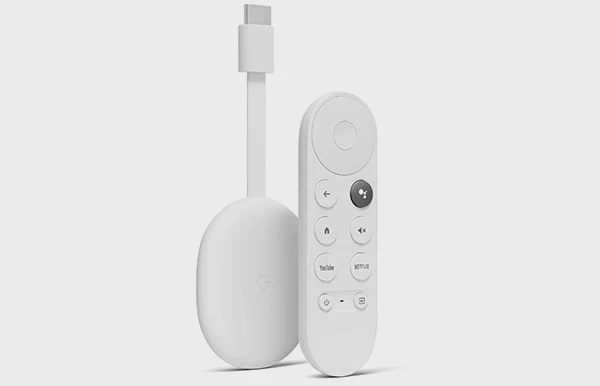
Google Chromecast is a highly affordable and user-friendly device for DIY digital signage. Its simple plug-and-play setup is ideal even for non-technical users, making it a popular choice for businesses and individuals looking for a cost-effective solution.
Price: At just $29.99 for the Chromecast with Google TV (HD) and $49.99 for the 4K version, it offers significant savings compared to traditional signage solutions.
Compact Design: The device plugs directly into your display’s HDMI port, avoiding bulky equipment.
Flexibility: The Google Chromecast is compatible with digital signage platforms like EasySignage allowing seamless content scheduling and playback
HOW TO USE GOOGLE CHROMECAST AS A DIGITAL SIGNAGE PLAYER
3. Amazon Fire TV Stick
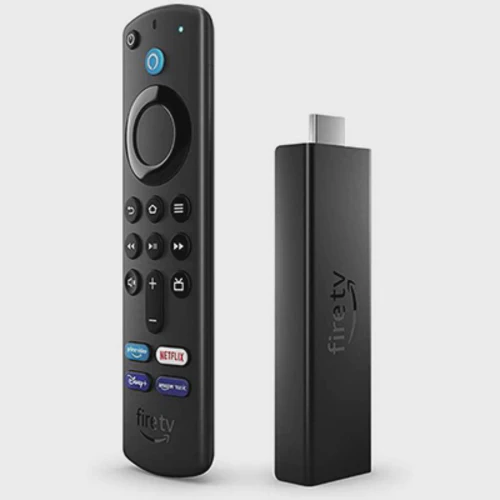
The Amazon Fire TV Stick is an ideal option for small businesses with limited budgets looking for a simple and inexpensive way to implement digital signage. It’s a compact media streaming device that plugs directly into the HDMI port of a television or monitor, making it easy to deploy in various environments.
Price: The standard Fire Stick and Stick Lite are priced at around $29.99, while the Amazon Fire TV Stick 4K Max costs around $54.99. It is one of the most affordable devices for digital signage.
Compact Design: Its plug-and-play design eliminates the need for bulky hardware.
Performance: Amazon Fire TV Stick 4k and 4K Max support 4k ultra content with HDR and Dolby Vision for richer visuals, while their faster processors ensure smoother playback of videos and animations.
Flexibility: Works seamlessly with digital signage platforms like EasySignage for efficient content management and scheduling.
HOW TO USE AMAZON FIRE TV STICK AS A DIGITAL SIGNAGE PLAYER
4. Android TV Boxes
An Android TV Box (version 5 or higher) is a versatile and affordable device that transforms any TV or monitor into a smart display. Its flexibility, ease of use, and compatibility with various apps make it a great option for DIY digital signage.
Price: Prices range from $30 to $100, making it a budget-friendly alternative to traditional signage players.
Compatibility: Runs on the Android operating system, allowing access to a wide range of digital signage apps. It works with both older and modern TVs or monitors.
Performance: Many models come with decent processing power and 8GB to 64 GB RAM internal storage, enabling smooth playback of videos, images, and animations. It is easy to set up with HDMI connectivity and has user-friendly interfaces.
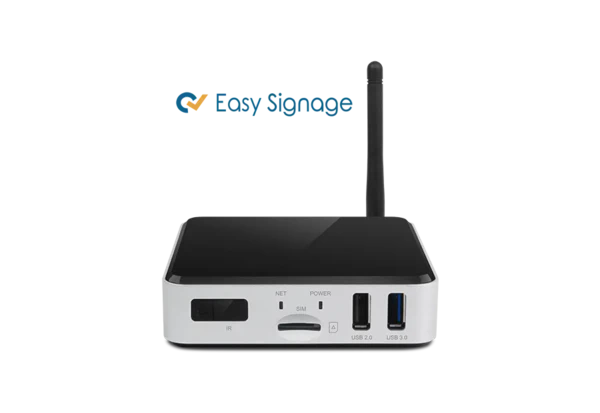
EasySignage provides the Geniatech APC329L Android Box that comes pre-loaded with the EasySignage software, making it ready to use.
5. Built-in Android TV
If you have an Android TV, you can easily convert it into a digital signage display without needing any external hardware player. Just open the Google Play Store on your TV to install a digital signage software app.
Many top digital signage providers, such as EasySignage, provide an Android app player in the Play Store. With EasySignage, a native Android app, you can seamlessly manage and display dynamic content, making your Android TV a cost-effective digital signage solution.
How to DIY Digital Signage?
Creating a DIY digital signage setup is simpler than you might think. Follow these steps to get started:
What Equipment You Need for DIY Digital Signage
You’ll need three main components:
- Affordable Hardware:
- Screen/Display: Use an existing TV or monitor, or buy a budget-friendly option.
- Media Player: Choose budget-friendly options like Raspberry Pi, or Google TV.
Reliable Software: Opt for a cloud-based digital signage software like EasySignage, which offers a free license for one screen forever, and costs 10$ monthly.
Internet Connection: A stable internet connection (Wi-Fi, Ethernet, or Mobile Network, depending on your player) enables smooth updates and content streaming. If your signage doesn’t require real-time updates, offline options are also available.
How to DIY Digital Signage with EasySignage in 5 Simple Steps
Step 1: Choose the right hardware
You don’t need expensive equipment to get started. Look for affordable options like a TV or screen you already own, as long as it has an HDMI output to connect to most modern displays easily, and an affordable media player like the Raspberry Pi. These can be great choices for running your digital signage smoothly.
Step 2: Choose your software
Software is important for content management. Many free or low-cost digital signage software options like EasySignage enable remote content management, schedule updates, and pro templates to make content creation easier.
EasySignage offers various digital signage players and screens for all industries. Why choose EasySignage:
- Cost-effective digital signage software with a free plan forever.
- A Cloud-based platform that reduces infrastructure costs.
- Compatible with most devices.
- Customisable templates.
- User-friendly, multilingual interface.
- Easy set-up and management.
- Secure and reliable for your digital signage operations - Partnered with Google Cloud.
To install EasySignage, download the player that is compatible with your hardware using the following link: Download EasySignage.
Step 3: Create a free EasySignage account
To begin your DIY digital signage journey, create a free EasySignage account. This account gives you access to essential features for content creation, scheduling, and displaying content without any upfront costs! Follow these steps:
Go to manage.easysignage.com
Sign up for a free account - no credit card required. The free account will always remain free for one screen.
After registering, log in to your dashboard and connect your digital signage screen to your EasySignage account.
Step 4: Create and design your content
First, identify your goals. Are you promoting sales, displaying a menu, or sharing announcements? Create engaging, high-quality content tailored to your audience.
- Use tools like Canva to design stunning visuals for your signage.
- Include videos, images, and text relevant to your audience.
- Keep your designs simple and readable using large, bold fonts and contrasting colours.
EasySignage offers a wide range of integrated apps and tools that help users create and manage engaging digital signage content for their displays. From weather updates and news tickers to social media feeds and custom templates, these apps provide endless customisation options, all in one user-friendly platform.
Step 5: Schedule and manage your displays
Once your content is ready, EasySignage’s CMS allows you to schedule and manage content on your displays easily. You can adjust the displays based on the time of day or special events, giving you full control.
With EasySignage you can also update your content remotely at any time, ensuring your signage always delivers the right message at the right time.
HOW TO CREATE FREE DIGITAL SIGNAGE WITH EASYSIGNAGE
Conclusion
Building a DIY digital signage doesn’t have to be expensive or complicated. By choosing affordable hardware and using EasySignage as your digital signage software, you can create an impactful digital signage system that engages your audience with high-quality displays without costing a fortune.
Start Small, get creative, and let your screens share your story!
FAQs for DIY Cheap Digital Signage
Q: Can I use my existing TV for DIY digital signage?
A: Yes! You can repurpose your existing TV or monitor by connecting it to a media player. Any screen with an HDMI port can work as a digital signage display.
Q: How much does DIY digital signage cost?
A: The cost varies based on the equipment used:
- Media players: $30–$100.
- Displays: Starting at $200.
- Software: Digital signage platforms, such as EasySignage, have a monthly cost of $10 and also provide a free plan.
Q: What software should I use for DIY digital signage?
A: For DIY digital signage, consider EasySignage. It provides free and scalable plans, a user-friendly interface, and a variety of apps for content creation and management.
Q: Do I need an internet connection for DIY digital signage?
A: Most setups require an internet connection to upload and manage content. However, some software supports offline content playback like EasySignage.
Q: Do I need a media player for DIY digital signage?
A: It depends on your TV. If you have a smart or Android TV, you can install digital signage software directly without an external media player. If your TV doesn’t have built-in smart capabilities, a media player is required.
Q: Which media player is the best for cheap DIY digital signage?
A: The best cheap DIY digital signage media players:
- Raspberry Pi 5 for advanced customisation
- Amazon Fire TV Stick for ease of use.
- Android TV Box for versatility.
Q: Is cloud-based software better for DIY signage?
A: Absolutely. It eliminates the need for complex infrastructure and allows remote management.